The problem I’m solving 🔇
I wanted a “perfect daily driver”. Something I can type on during video calls without my mic picking up every keypress. And something I can use late in the evening without it becoming the loudest thing in my home.
The baseline: Keychron K2 (browns) + K6 (blues)
I’ve been using two Keychrons:
- K2 with browns: more “thocky”, more tolerable, my default.
- K6 with blues: fine if you like clicky switches. It gets tiring after a while.
The north star spec ✅
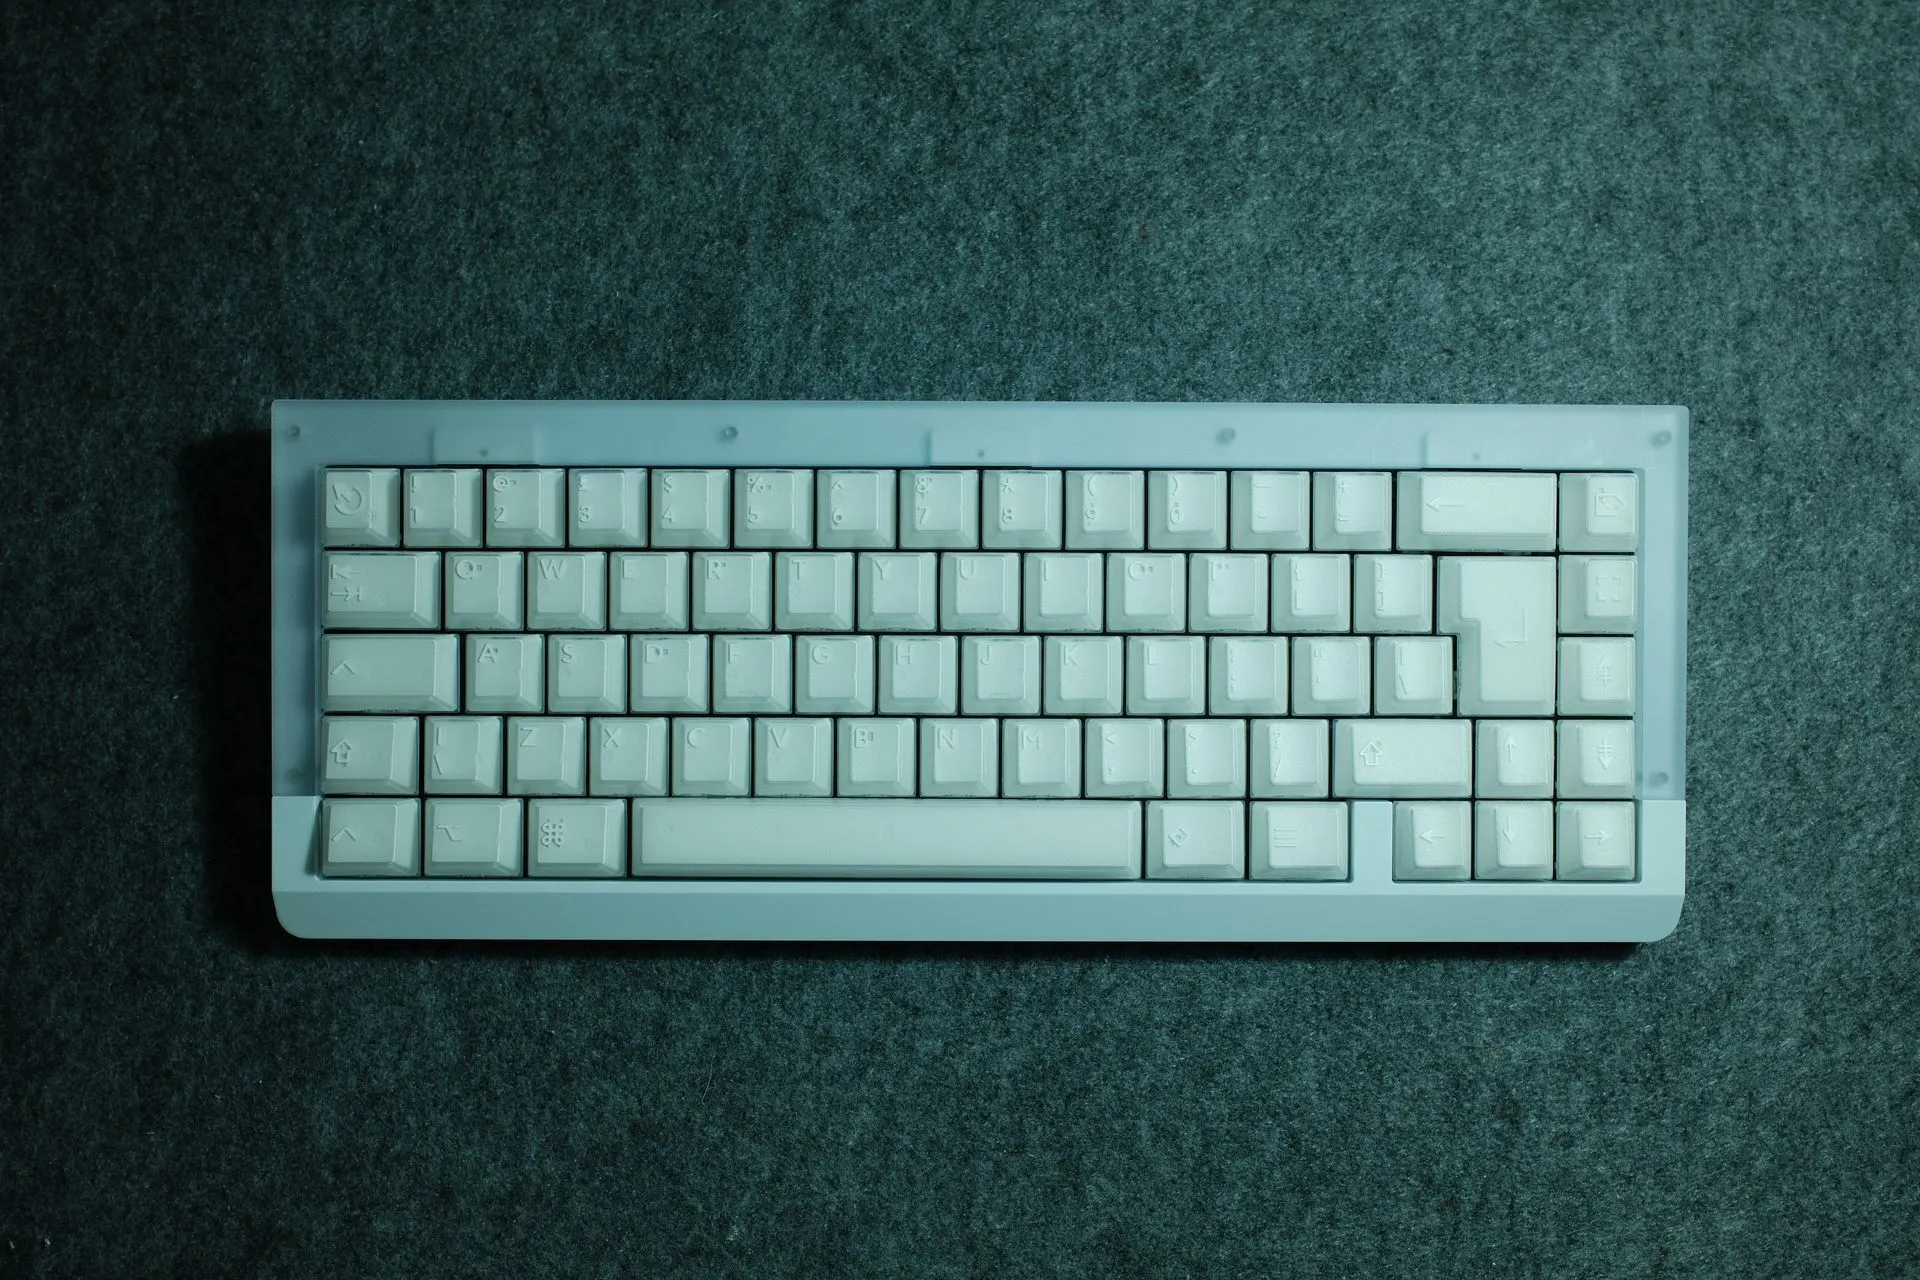
Target: silent, creamy, muted. Modern. No rattles. And UK-ISO, properly — not “close enough”.
What I chose:
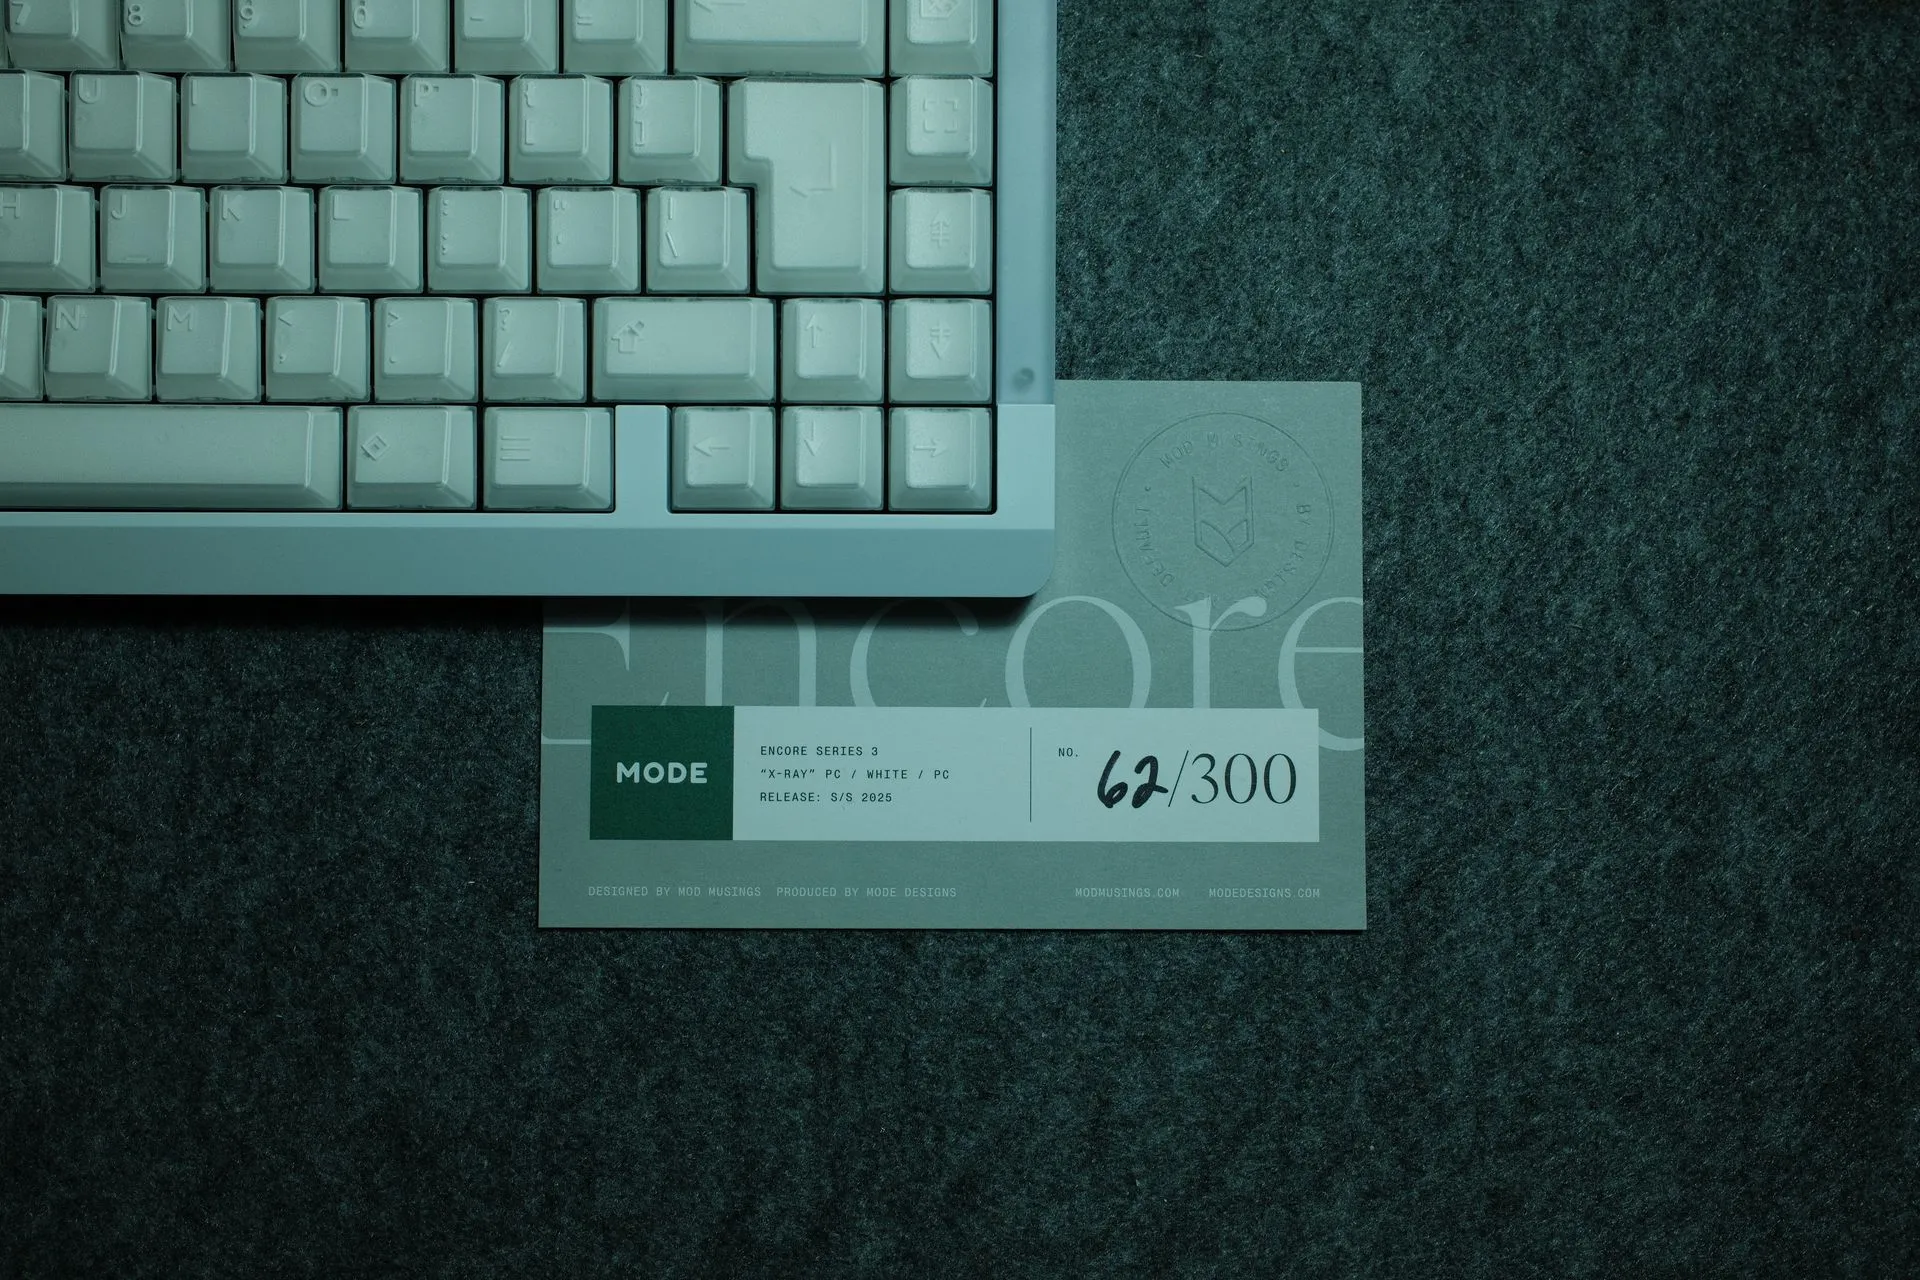
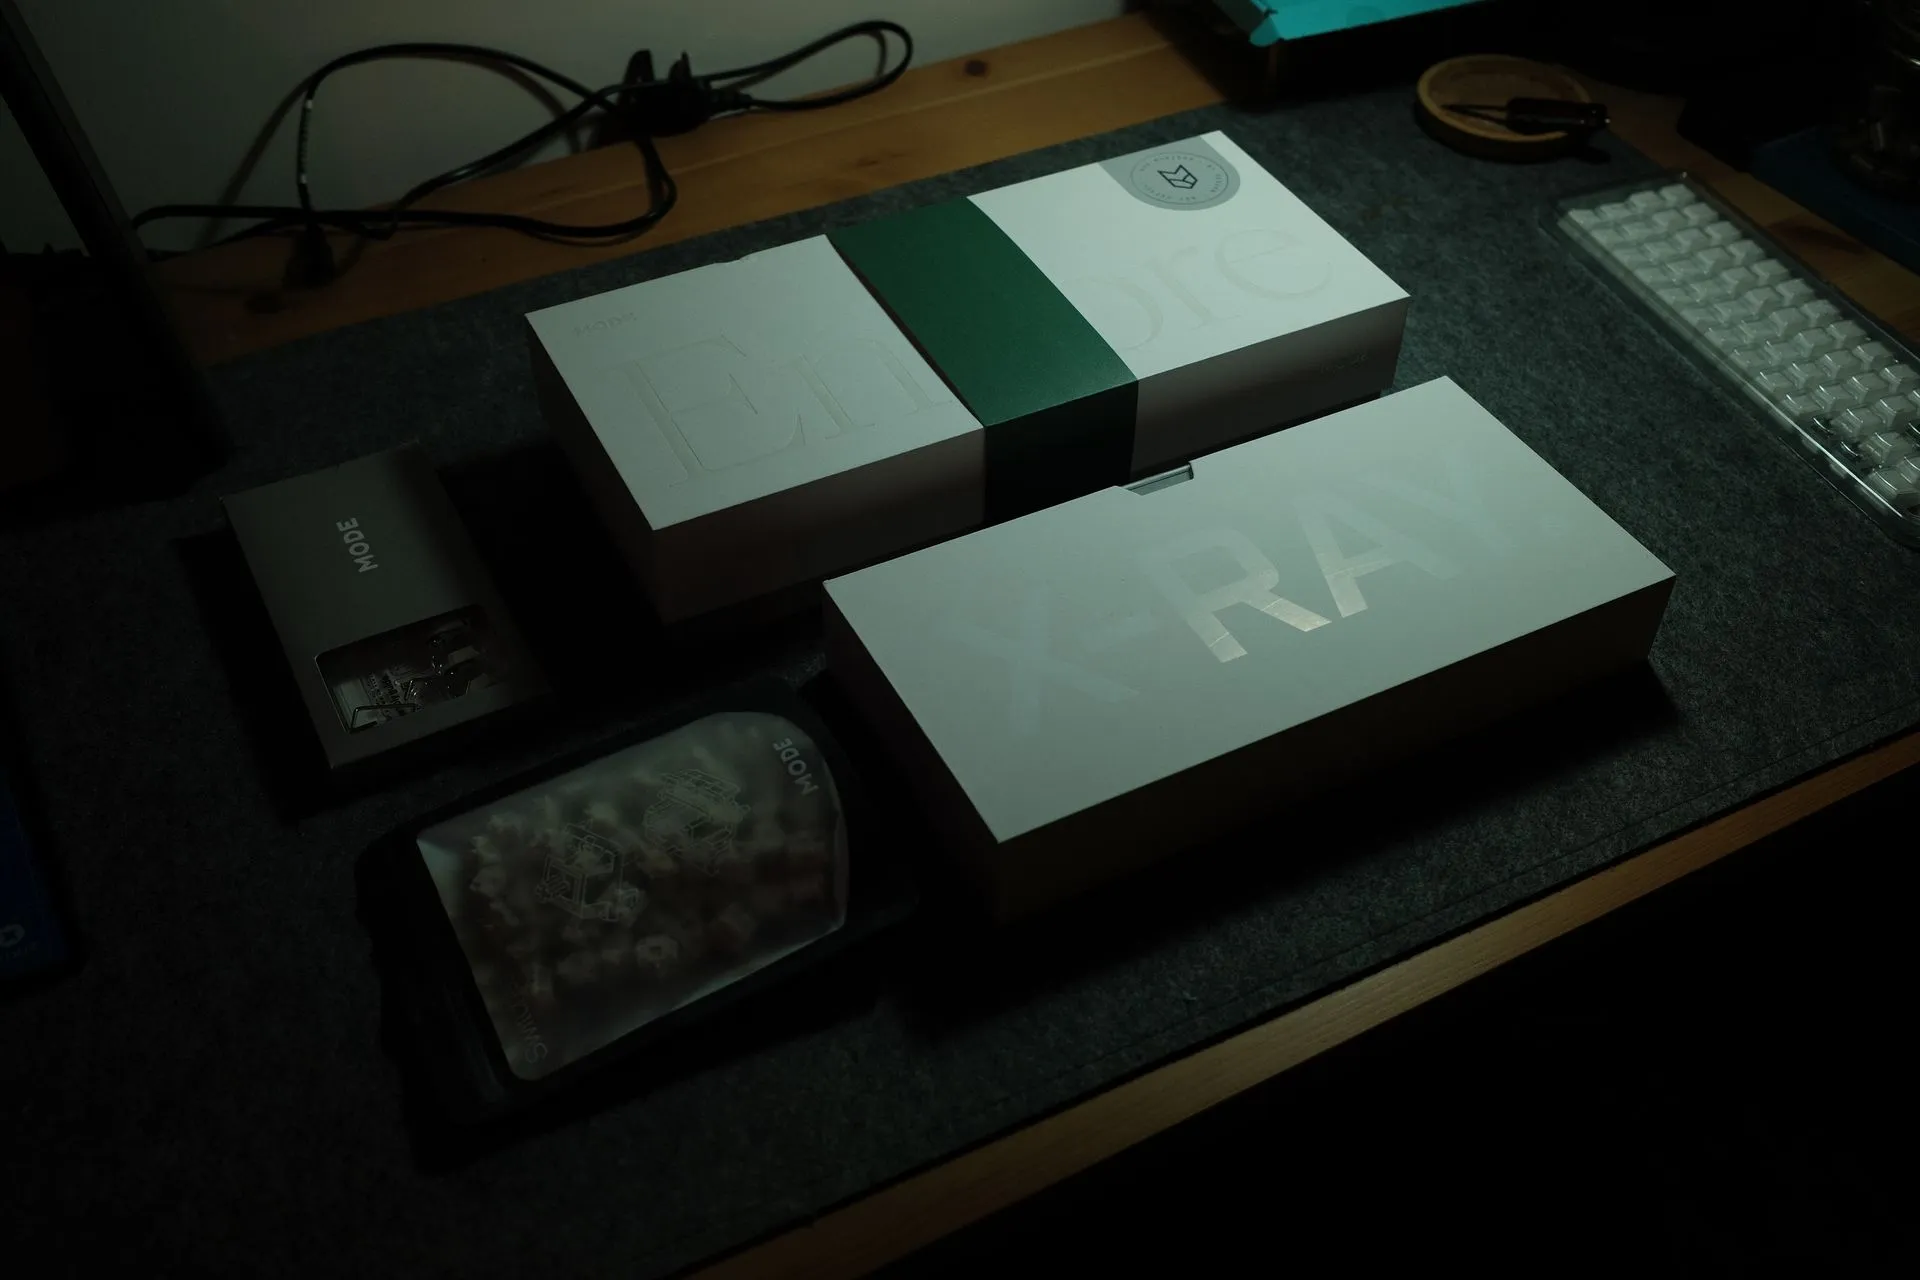
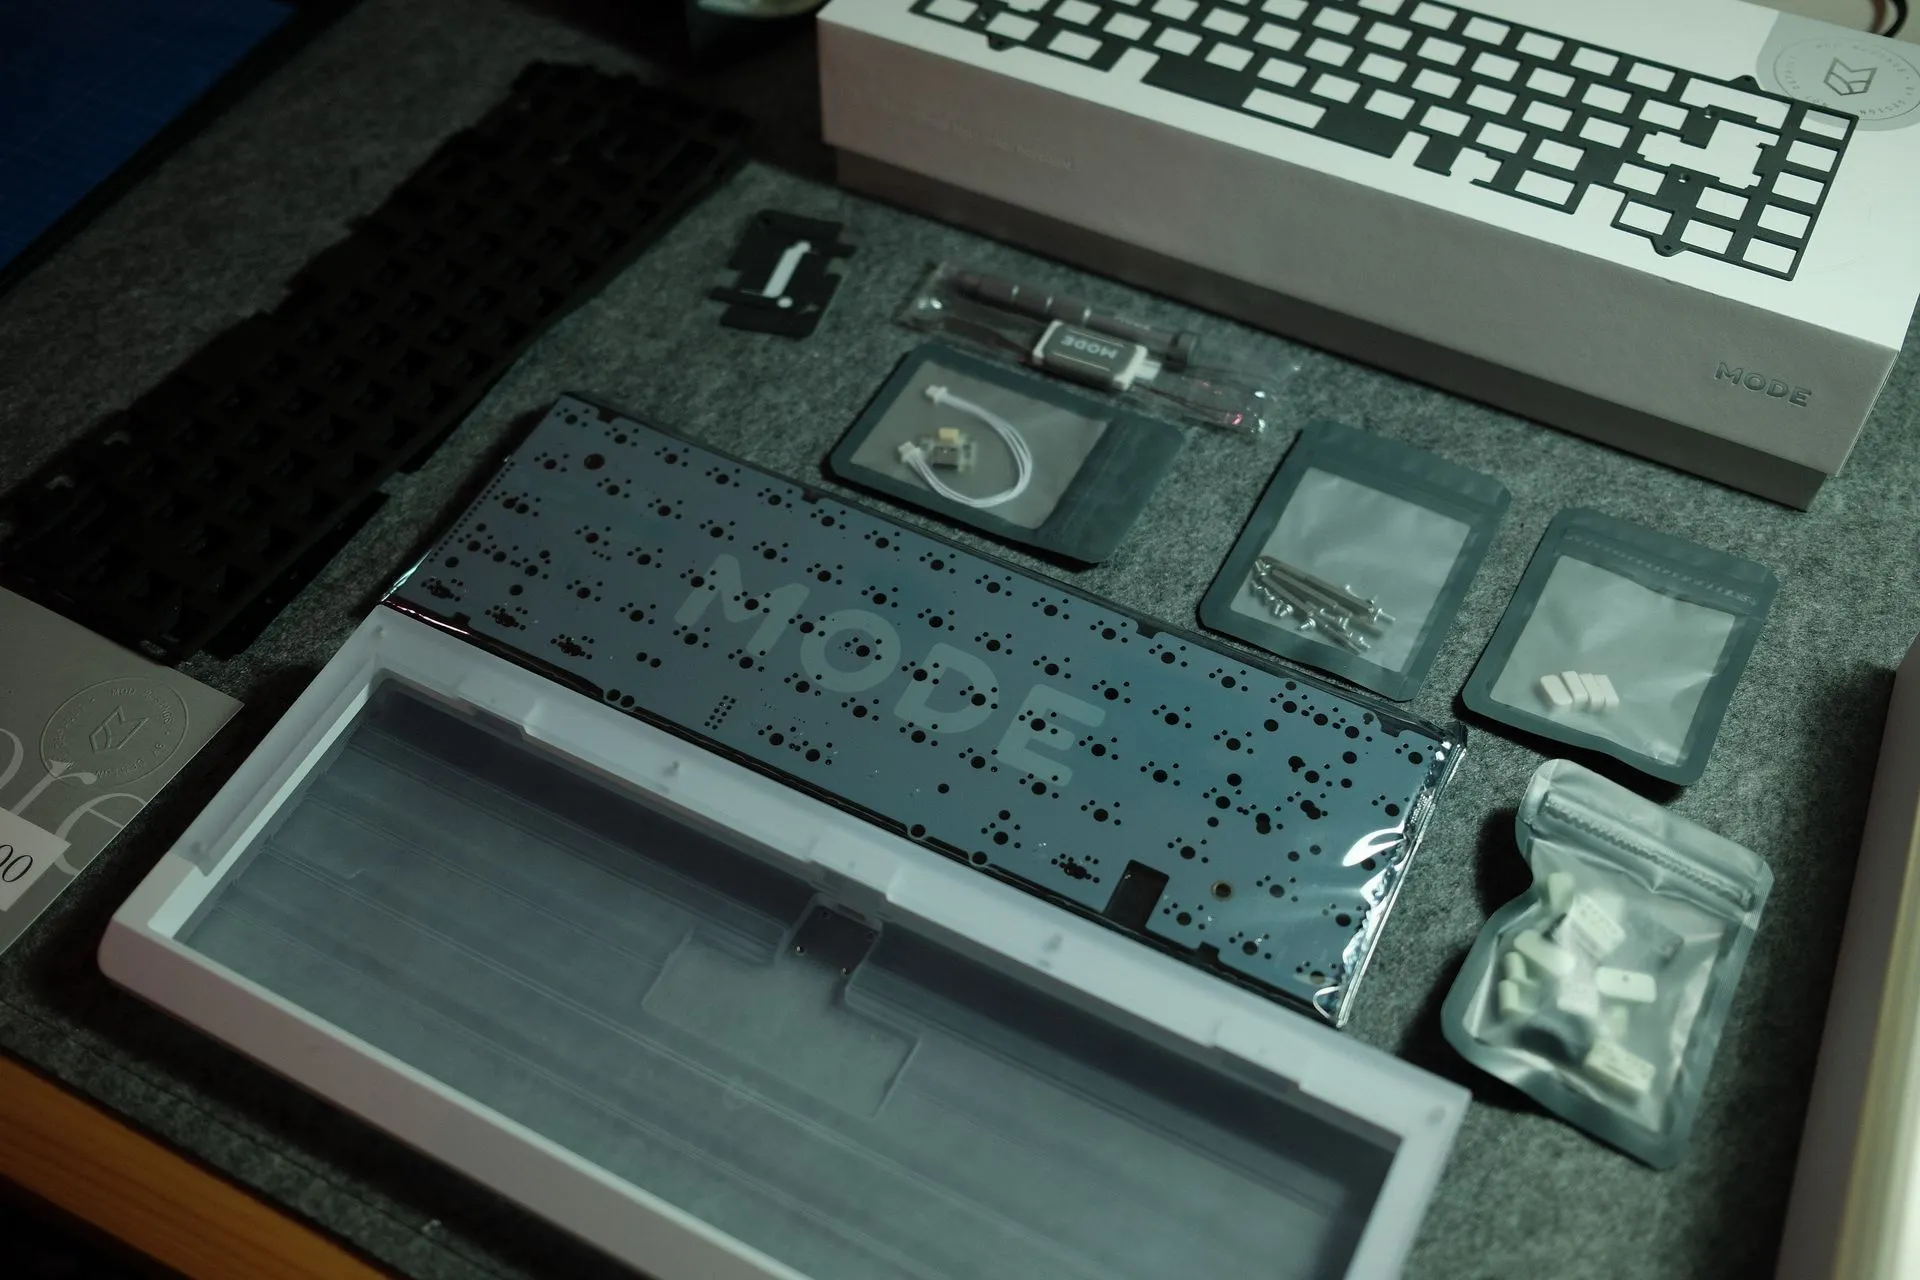
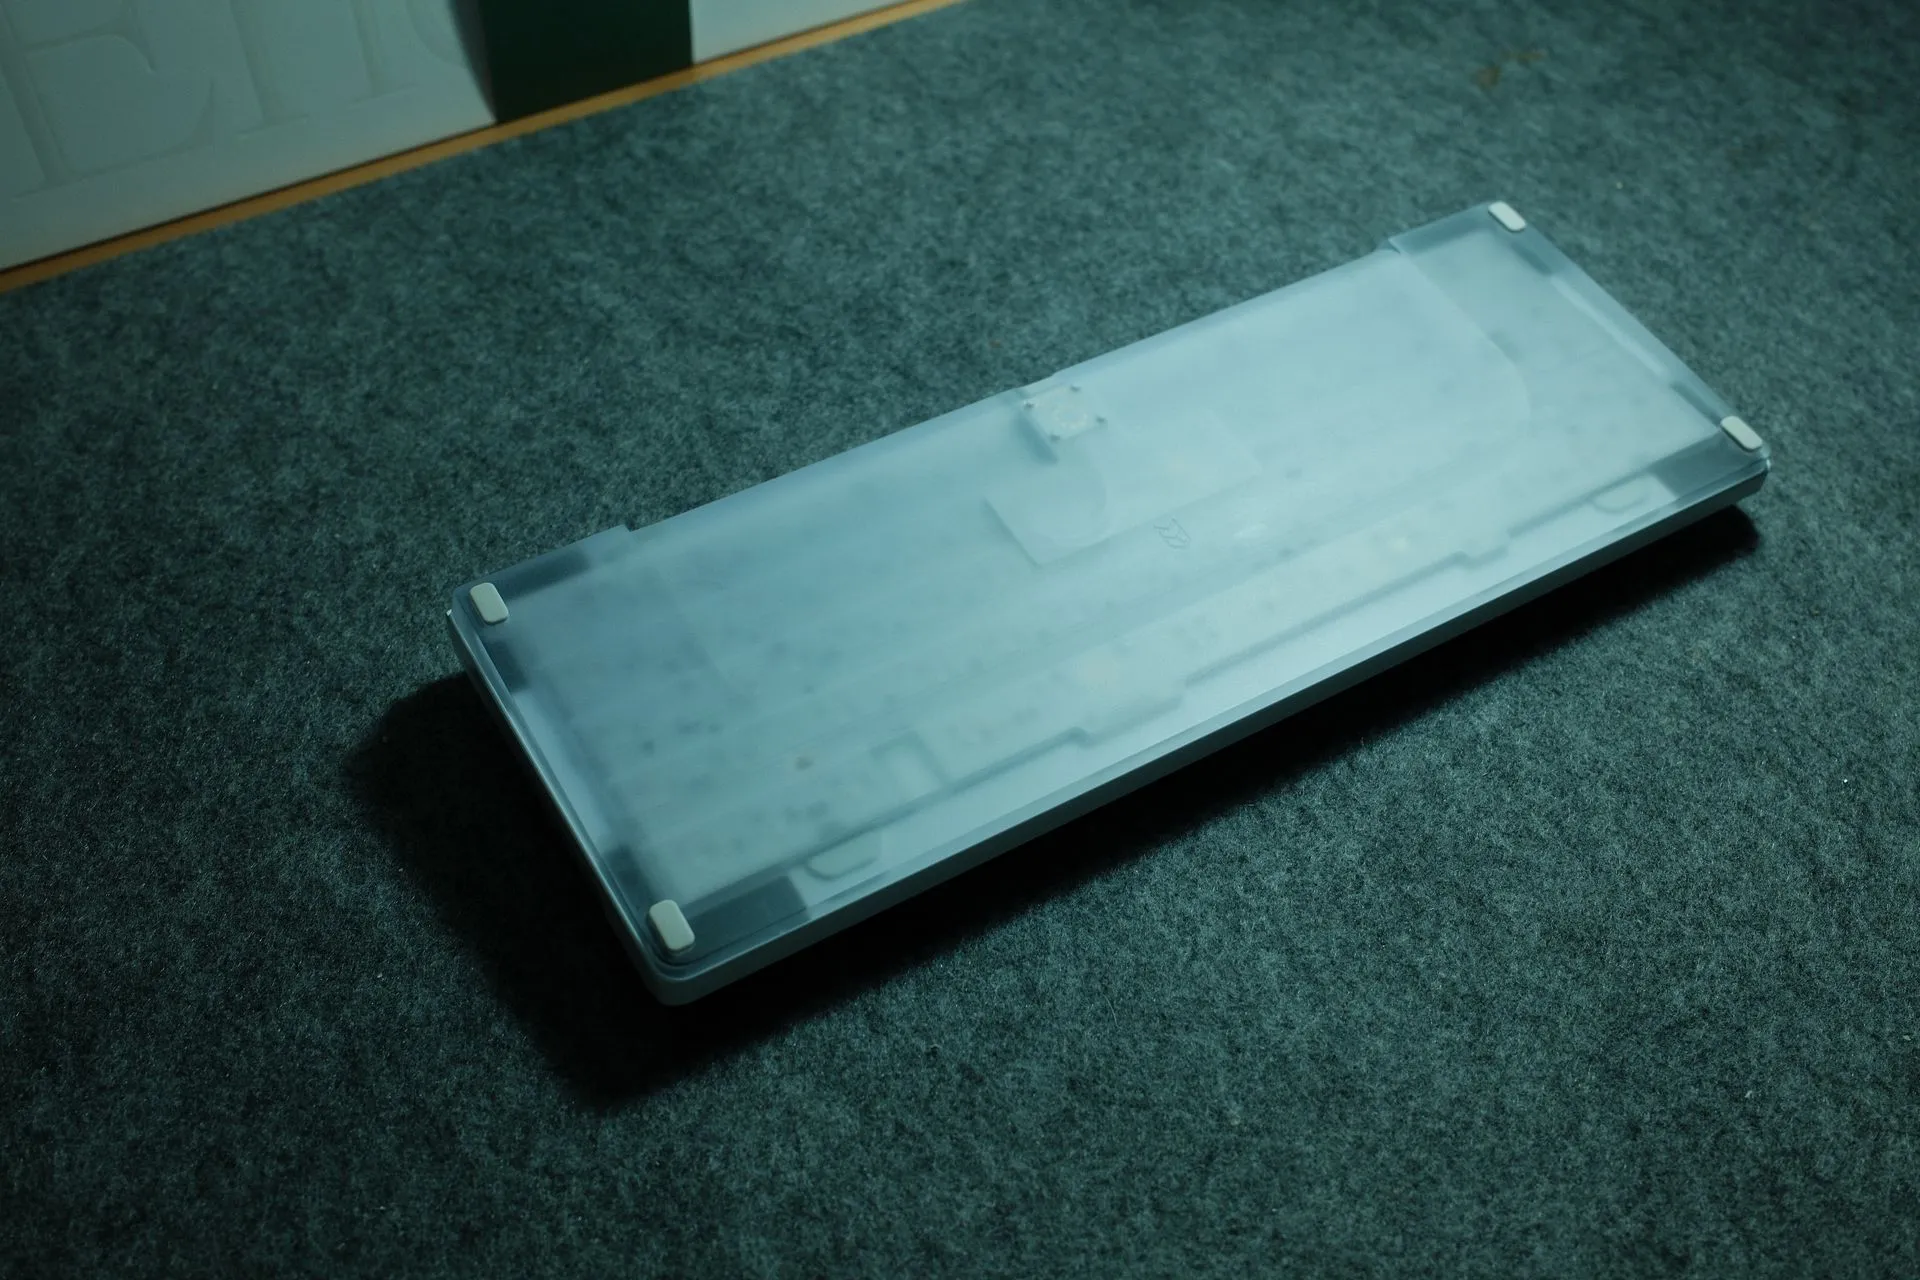
- Board: MODE Encore Series 3 (65%) — UK-ISO, solder PCB
- Case: PC / White / PC
- Plate: POM
- Switches: Anthracite Silent Tactile
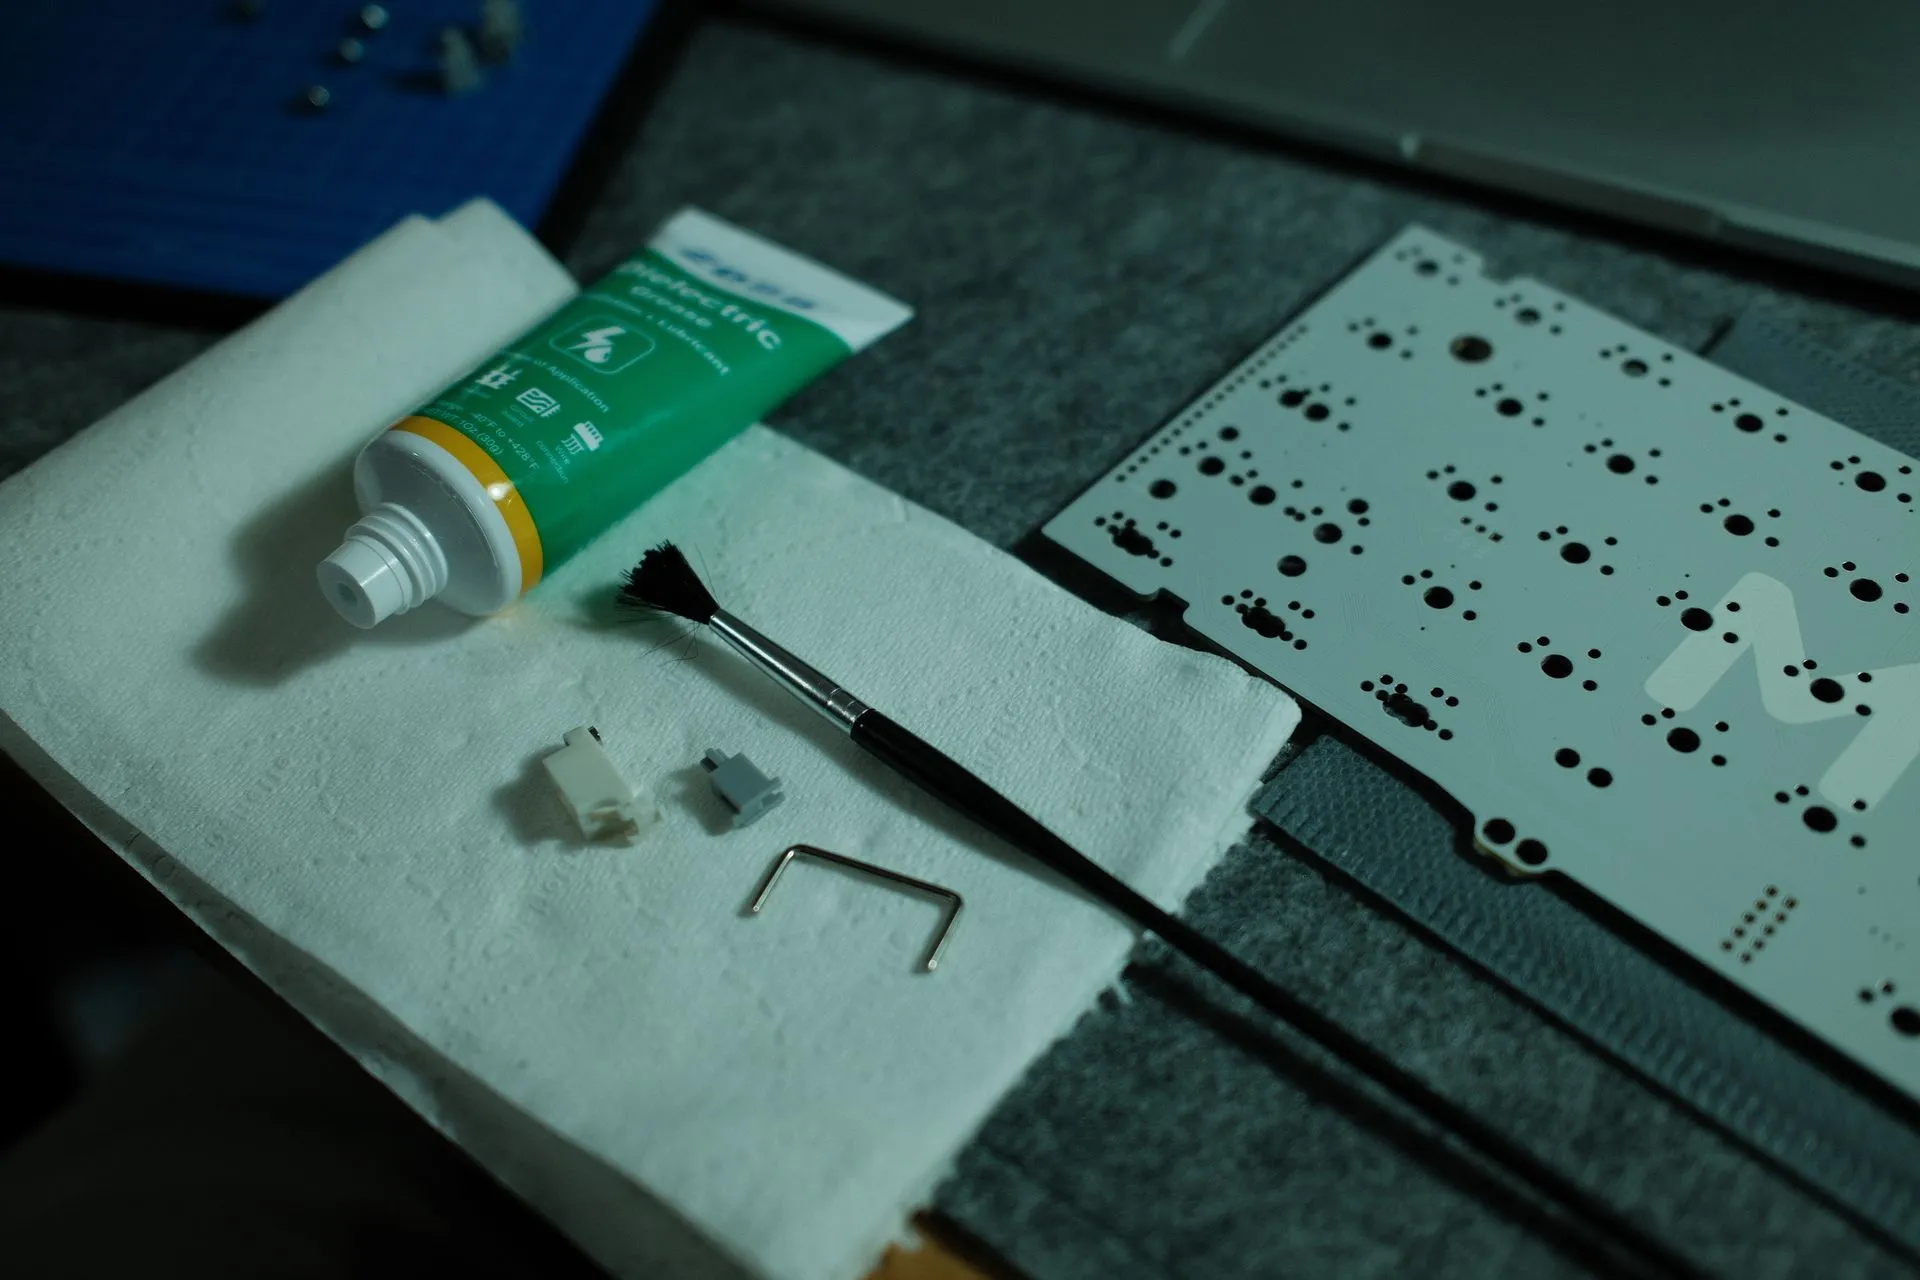
- Stabilisers: MODE stabs (pre-lubed), with light dielectric grease on wires only
- Foam policy: case foam + force-break pads to start, no plate foam initially
- Keycaps: PBTfans X-RAY (Base + International for UK-ISO)
Why MODE Keyboards? 💸
I chose MODE because it removes a lot of the faff. I could have gone cheaper. I could have sourced parts from five different places. But I wanted high quality, good support, and a build that’s hard to mess up as a first-timer.
If you’re building your first proper keyboard, fewer unknowns helps.
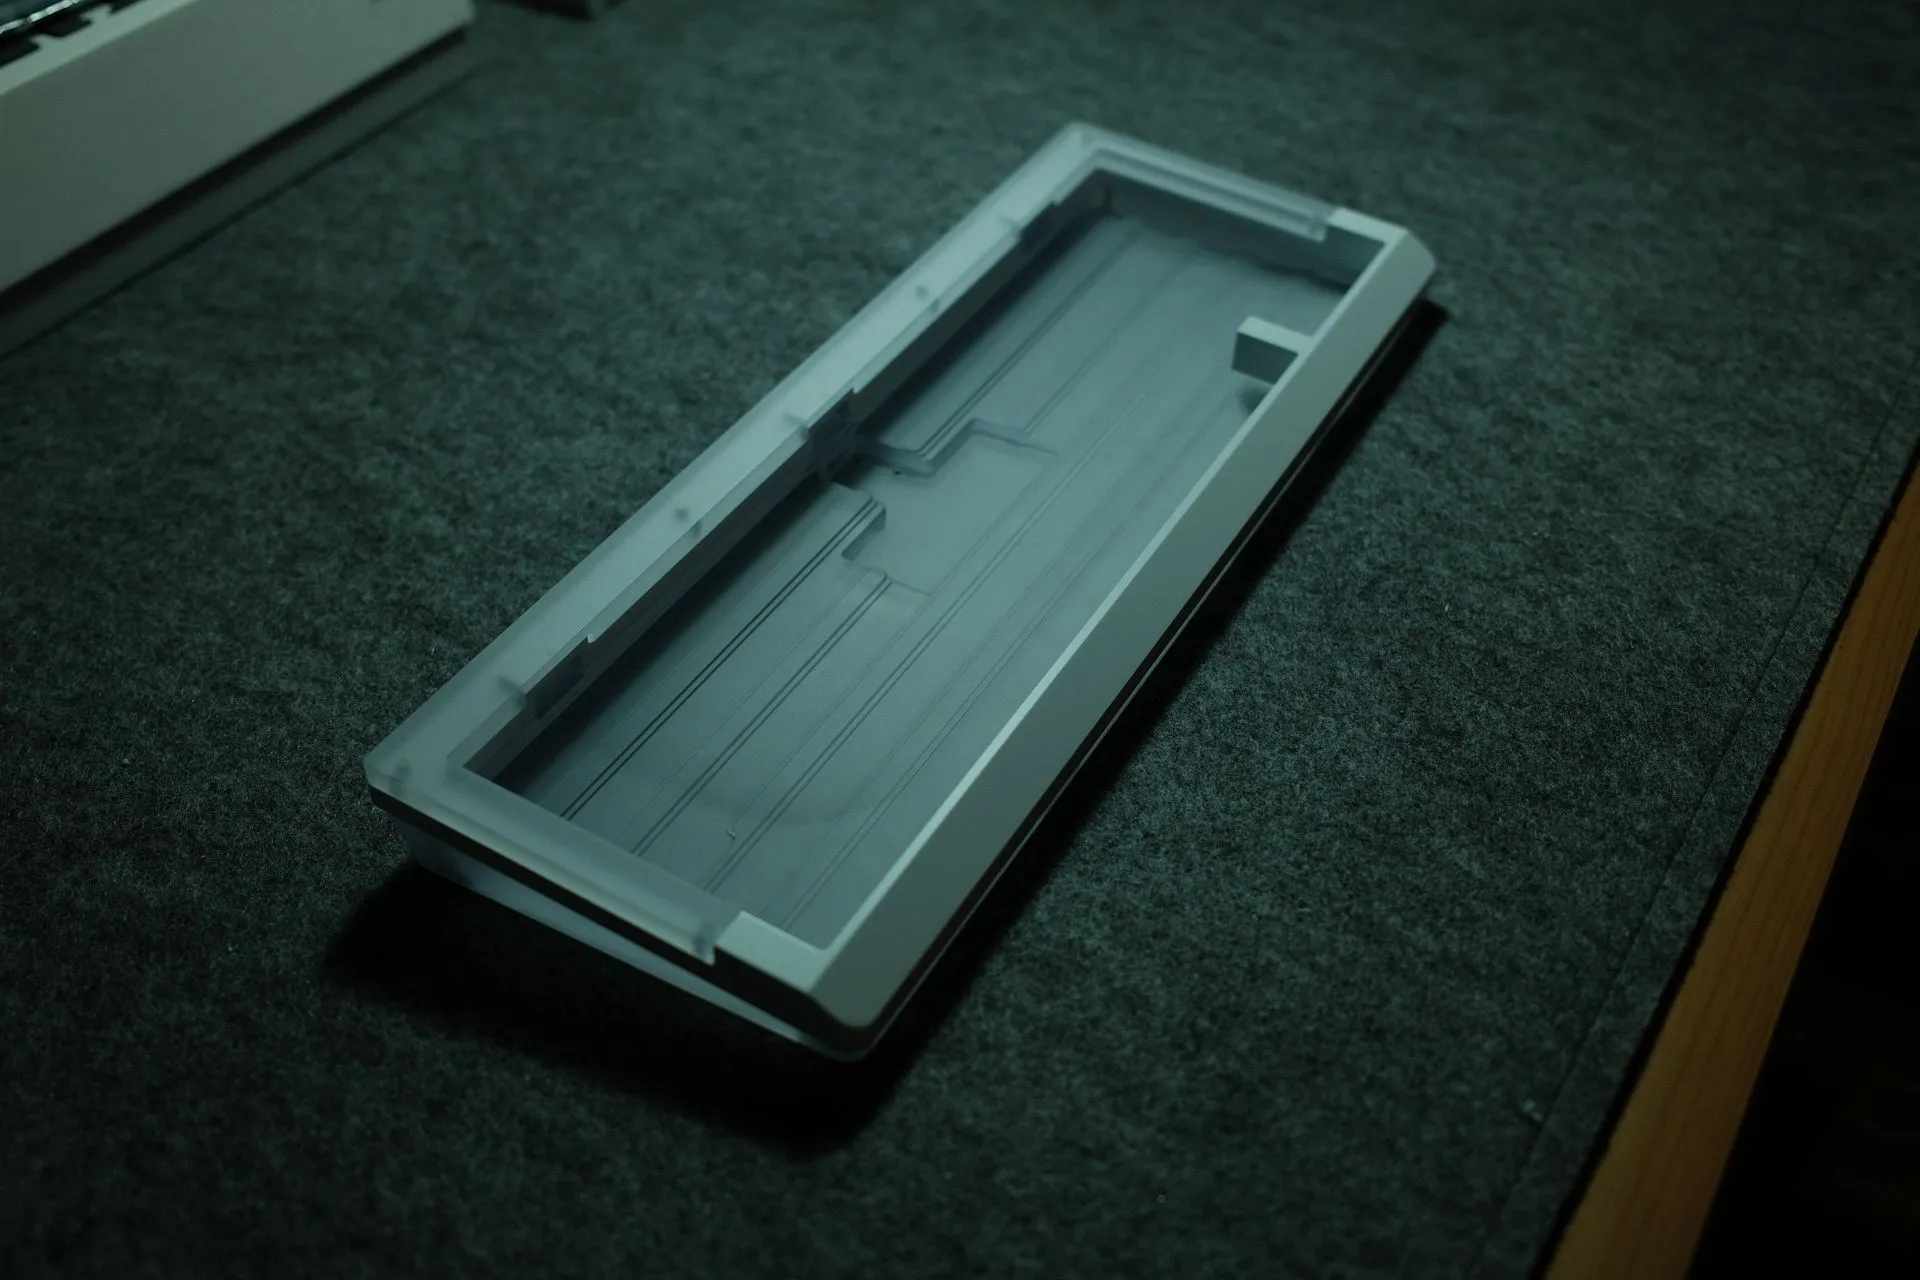
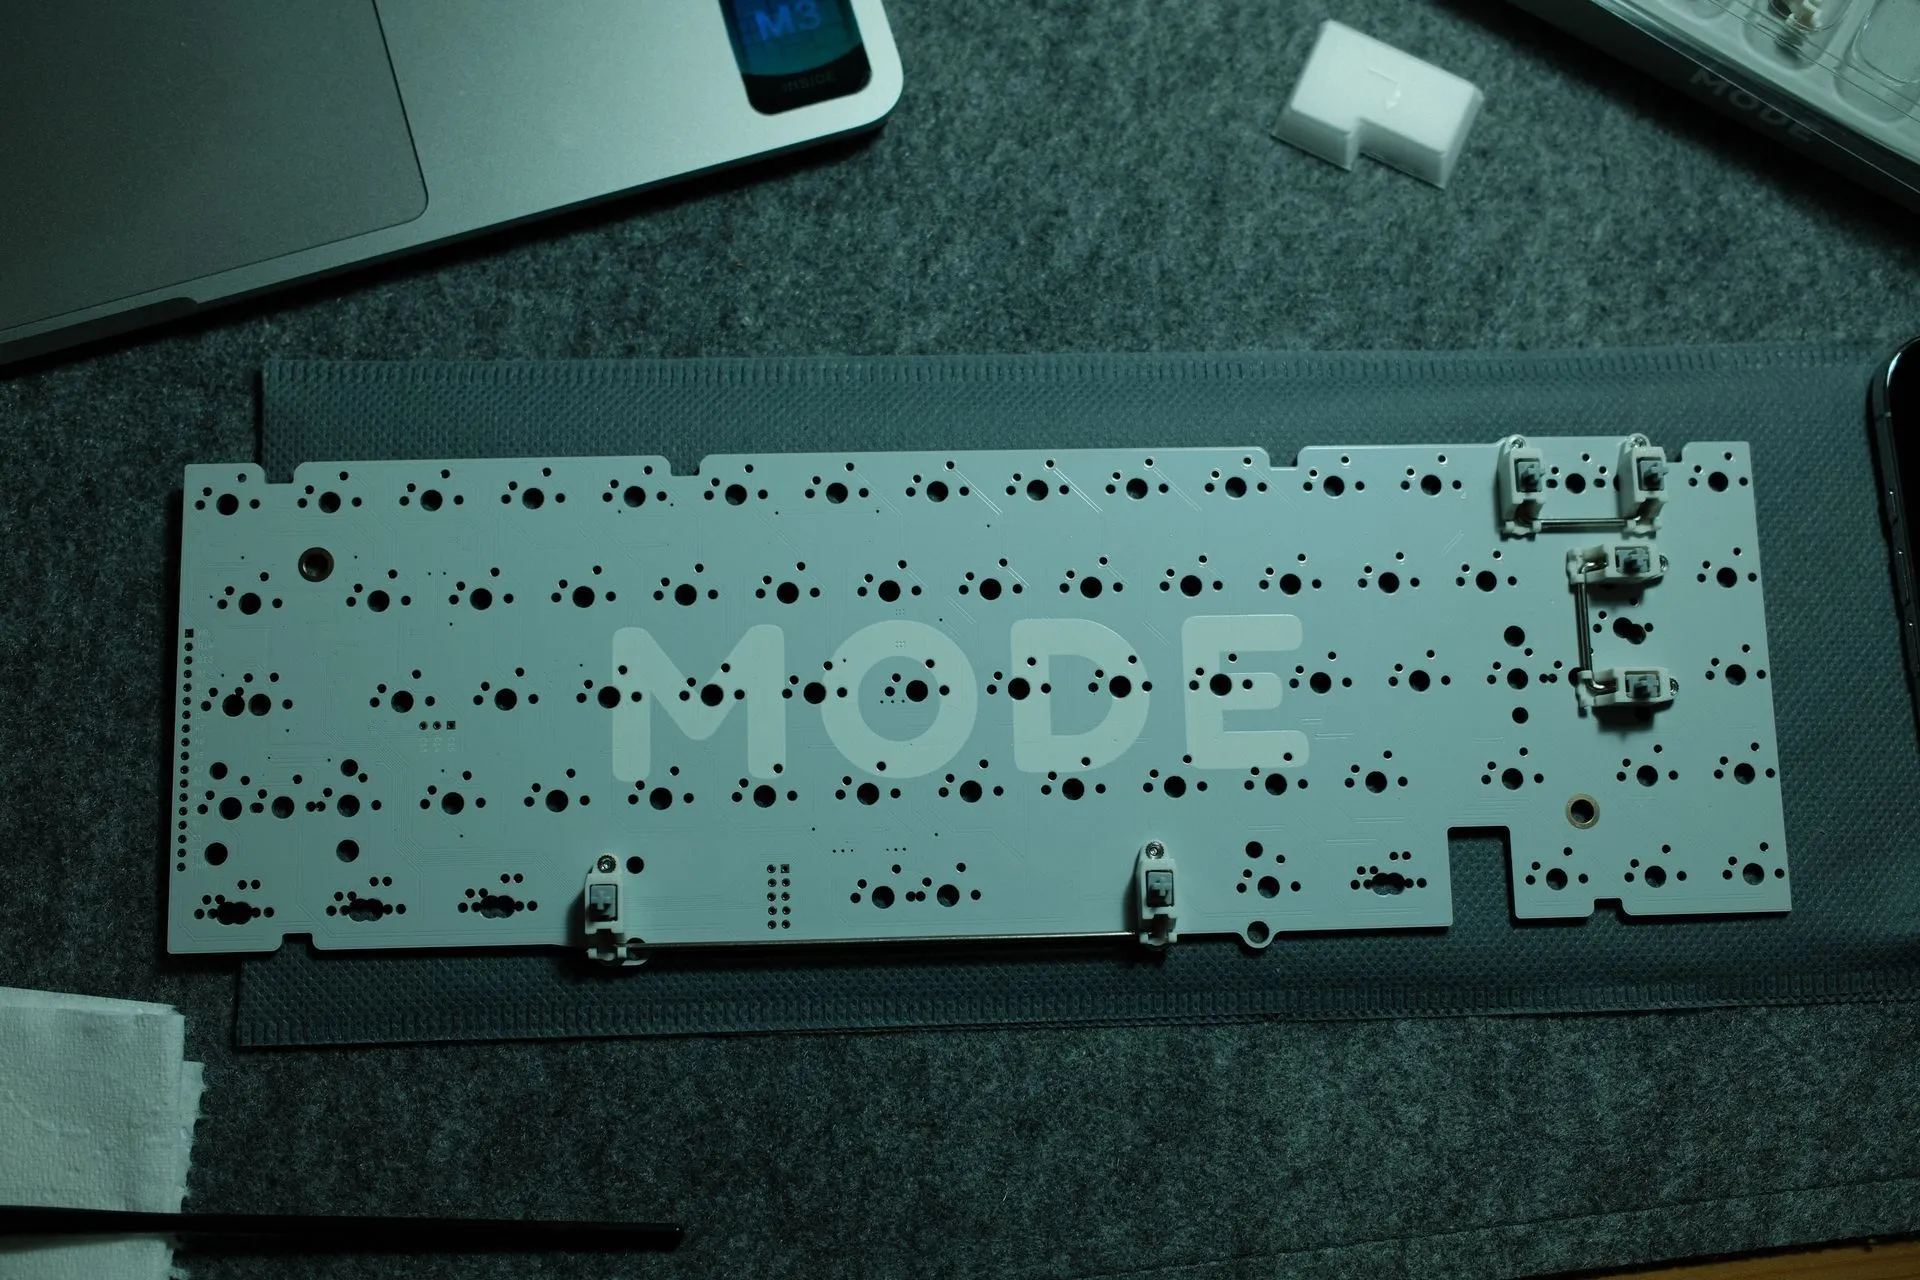
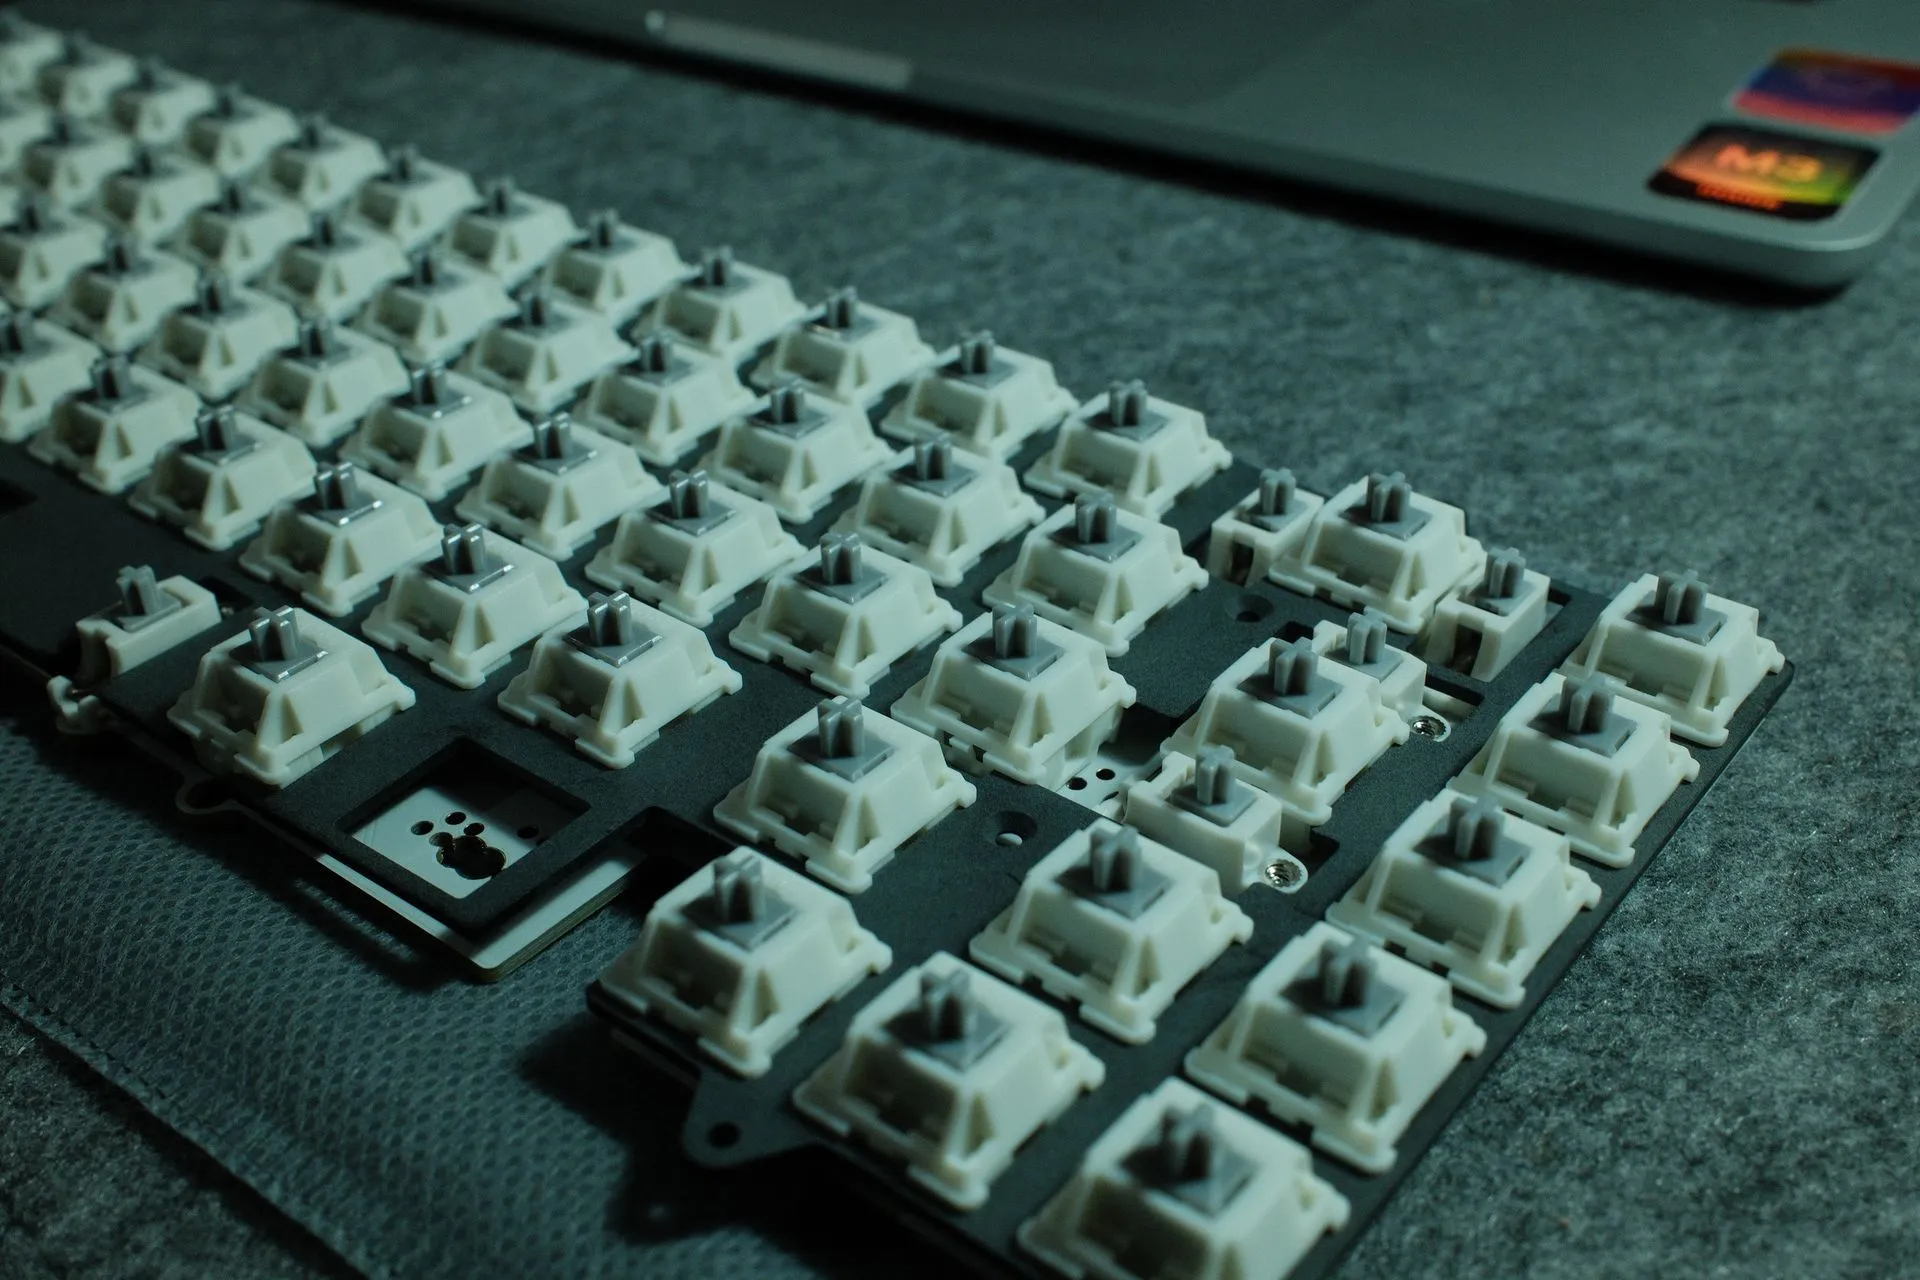
ISO stabilisers (the bit guides skip) 🧩
This was the first thing that slowed me down.
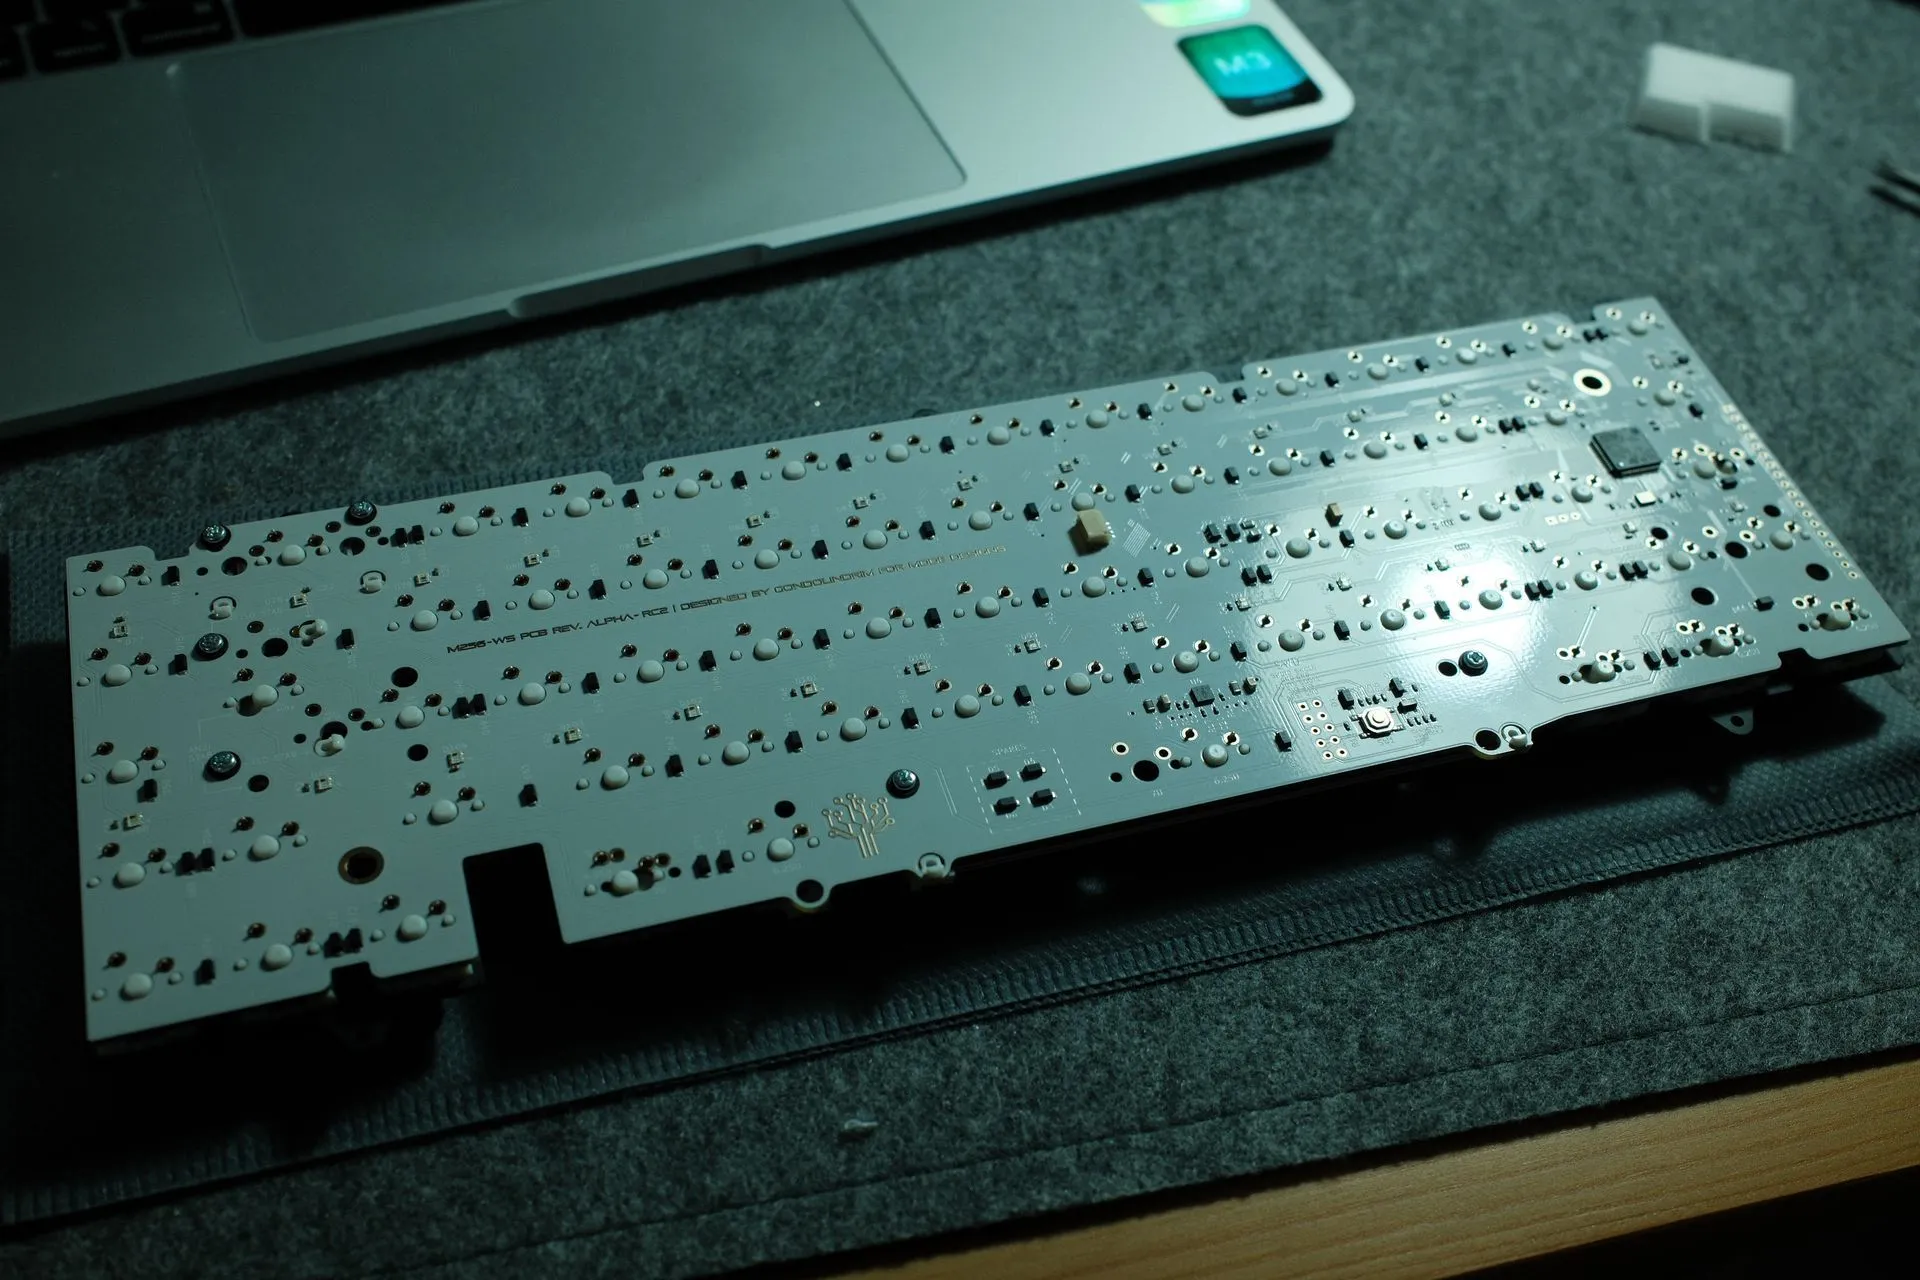
Most build guides assume ANSI, so stabilisers come across as “obvious”. On ISO it’s still straightforward, but I couldn’t find a simple reference for where things go. It didn’t help that this PCB supports both ANSI and ISO, so there are stab holes everywhere. Because I’m soldering, I wanted to be sure before committing.
The rule I used: if the key is 2u or wider, it needs a stabiliser.
On this 65% UK-ISO layout, that meant:
- Spacebar
- Enter (ISO)
- Backspace
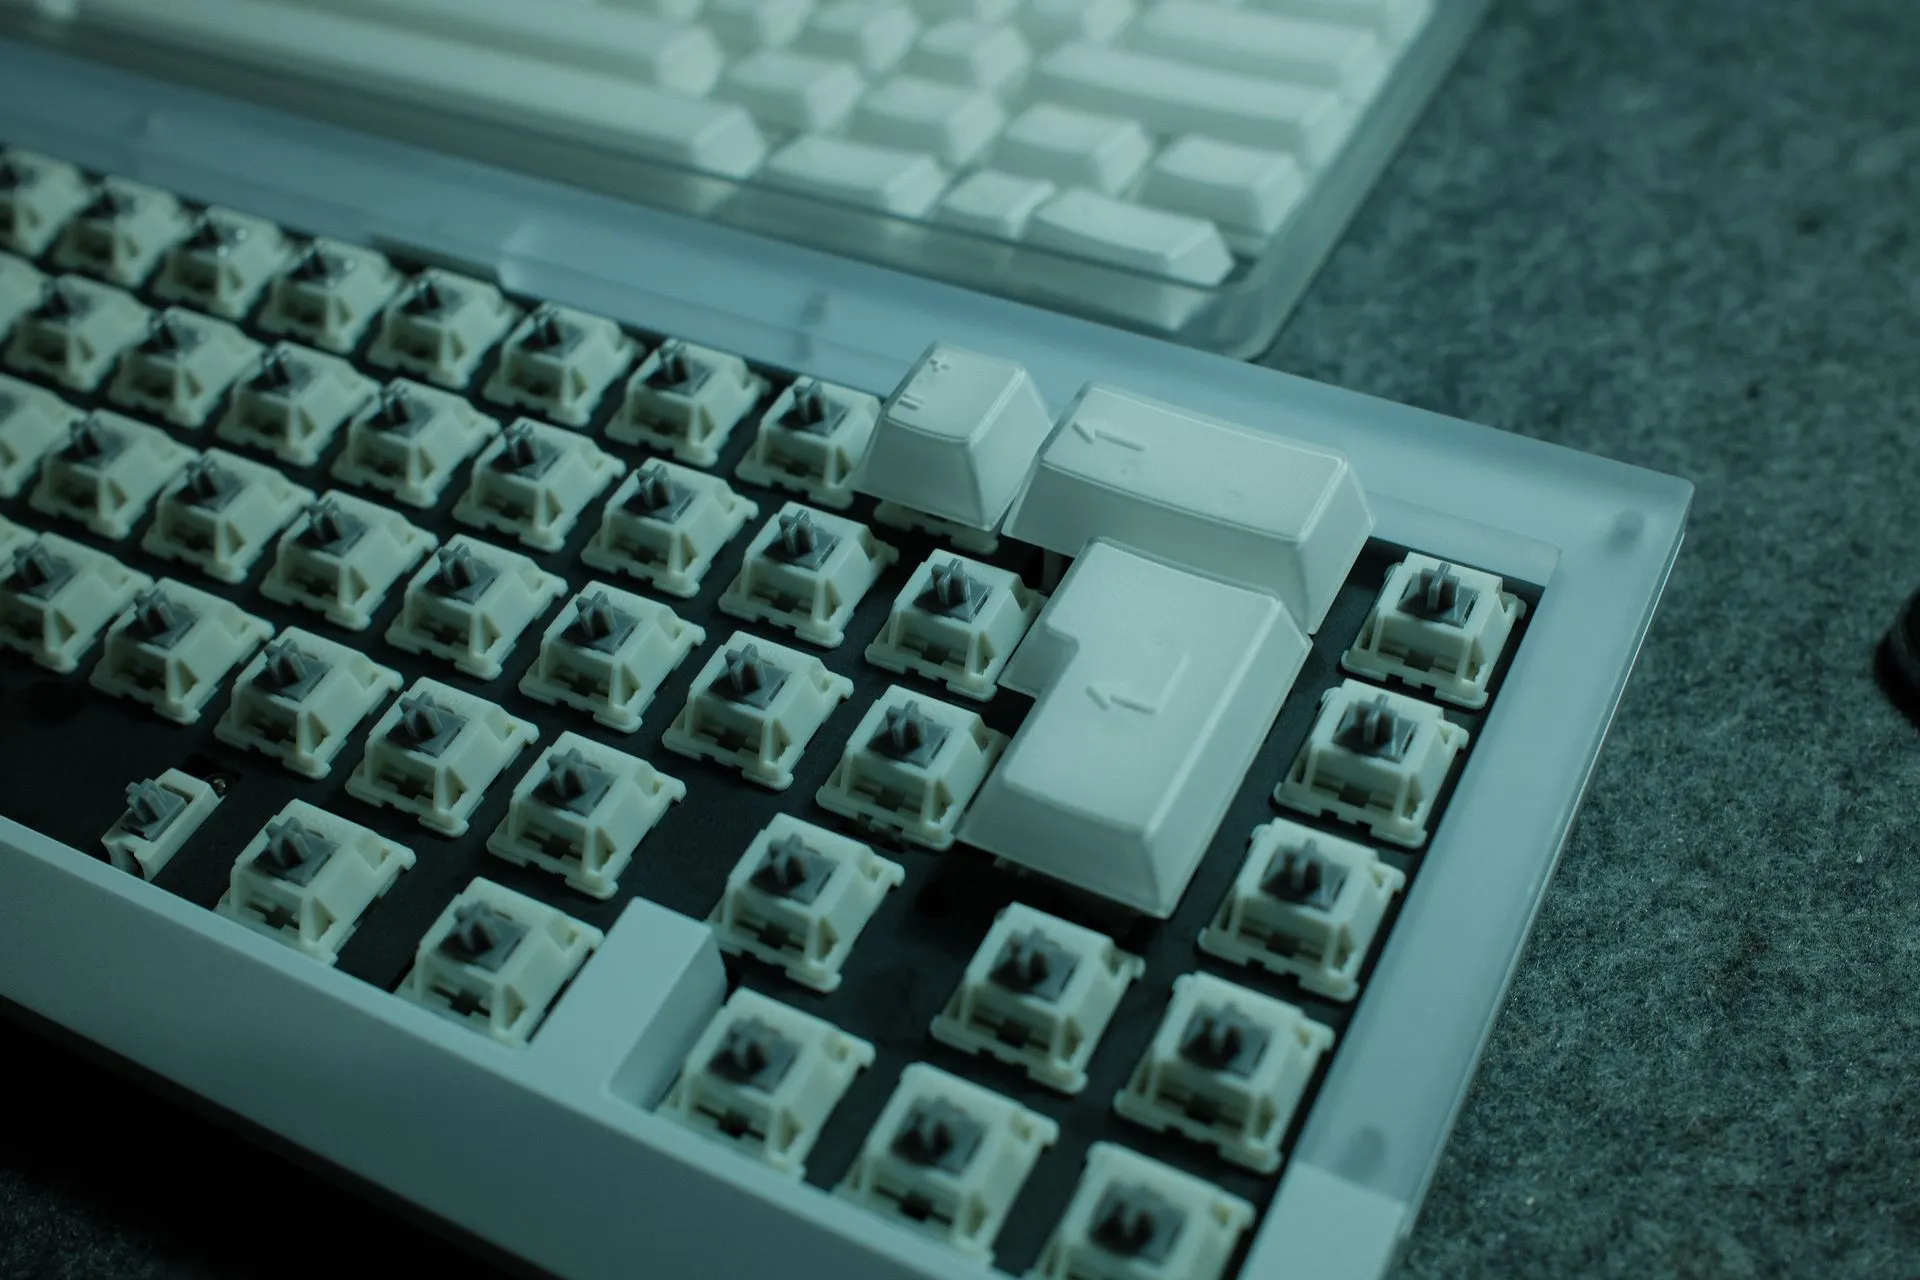
What helped: I dry-fit the plate + PCB, then test-fit the actual keycaps (especially Enter and Right Shift) before moving on.
If you’re also staring at a PCB thinking “which holes are the real ones?”, I hope this image saves you the time it cost me.
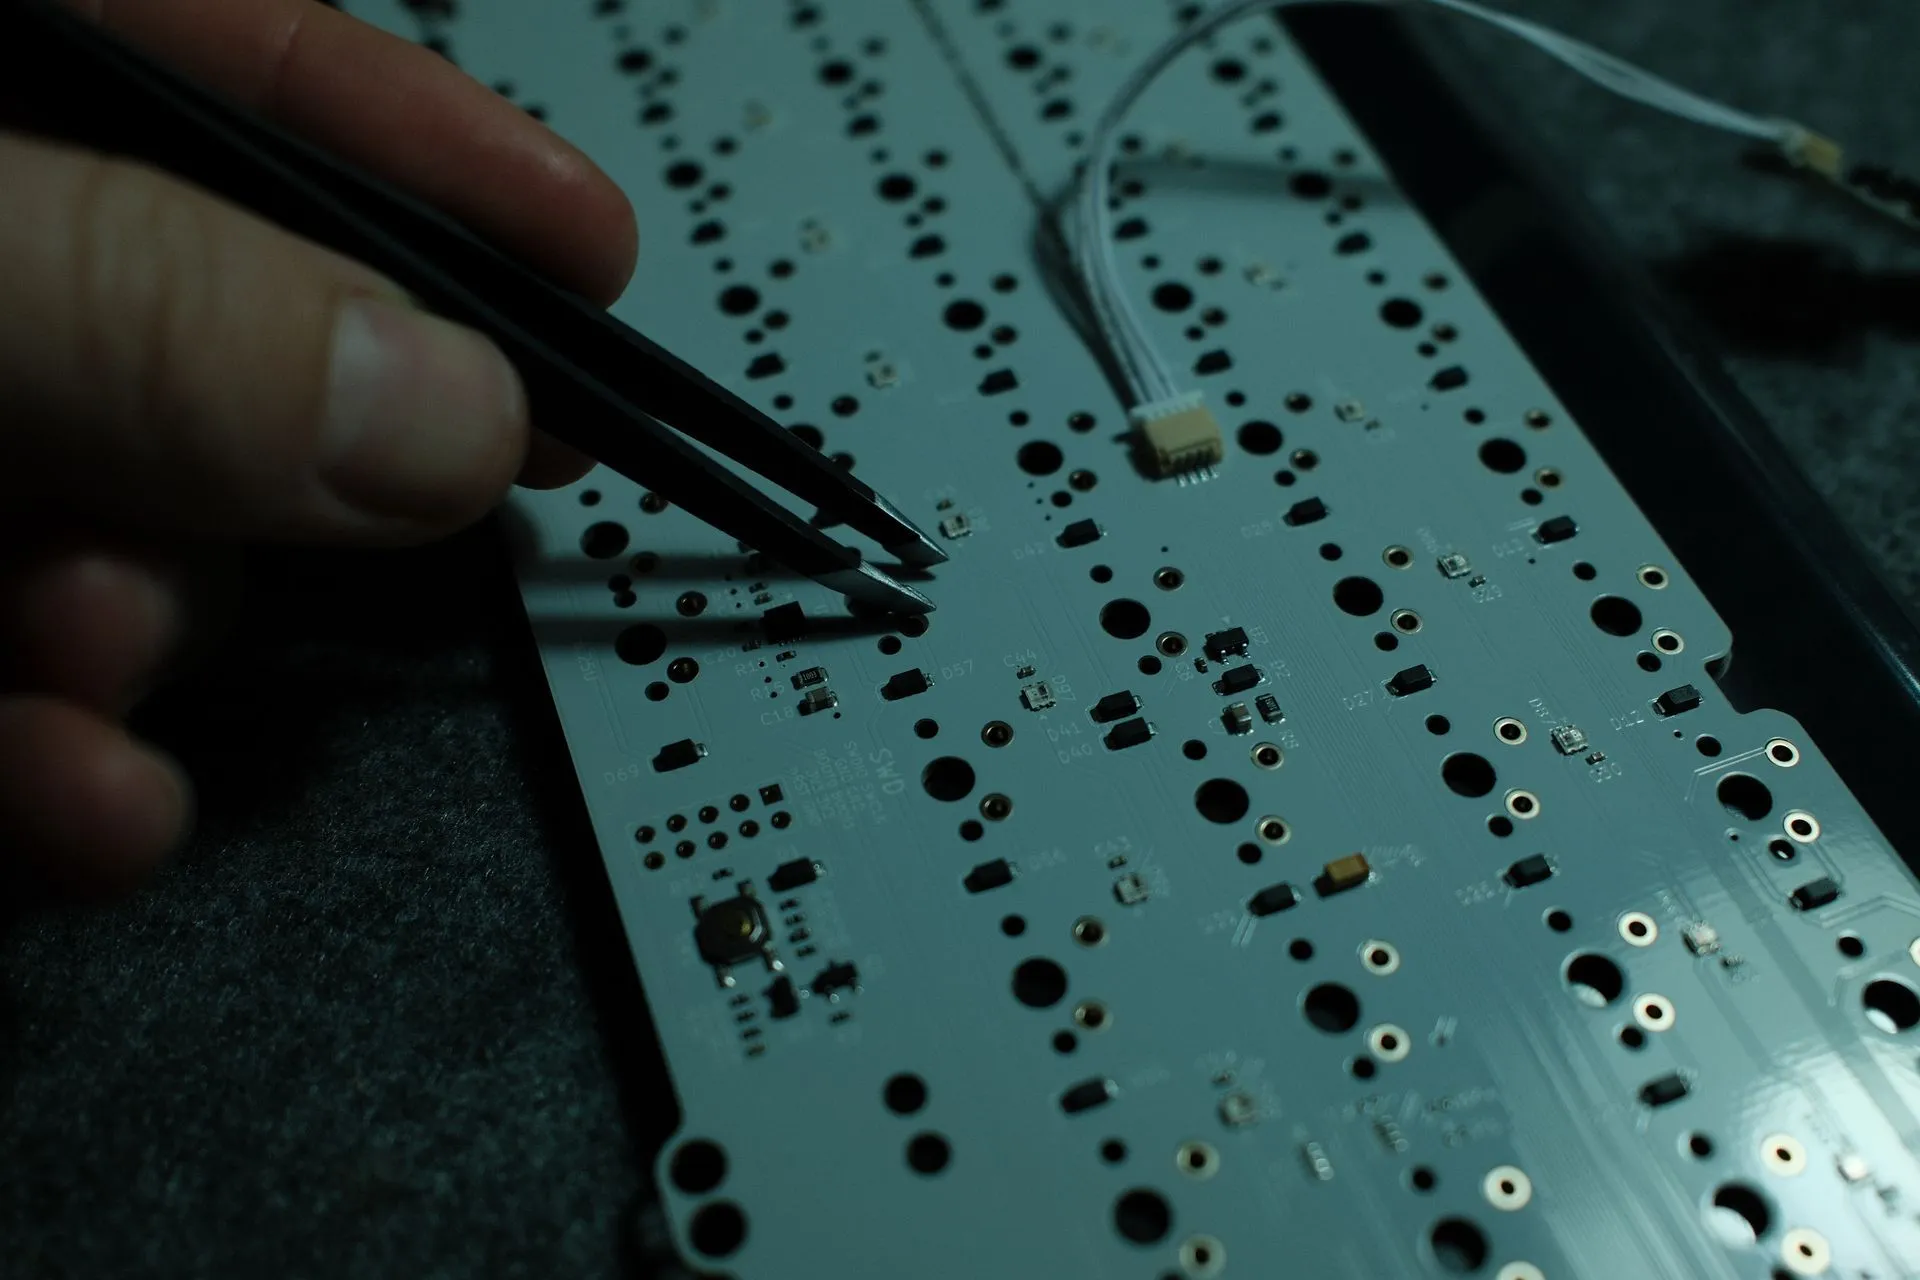
UK-ISO meant soldering (the part I took slowly) 😅
Hot-swap is convenient, but often ANSI-first. I wanted UK-ISO, which left a solder PCB as the sensible option.
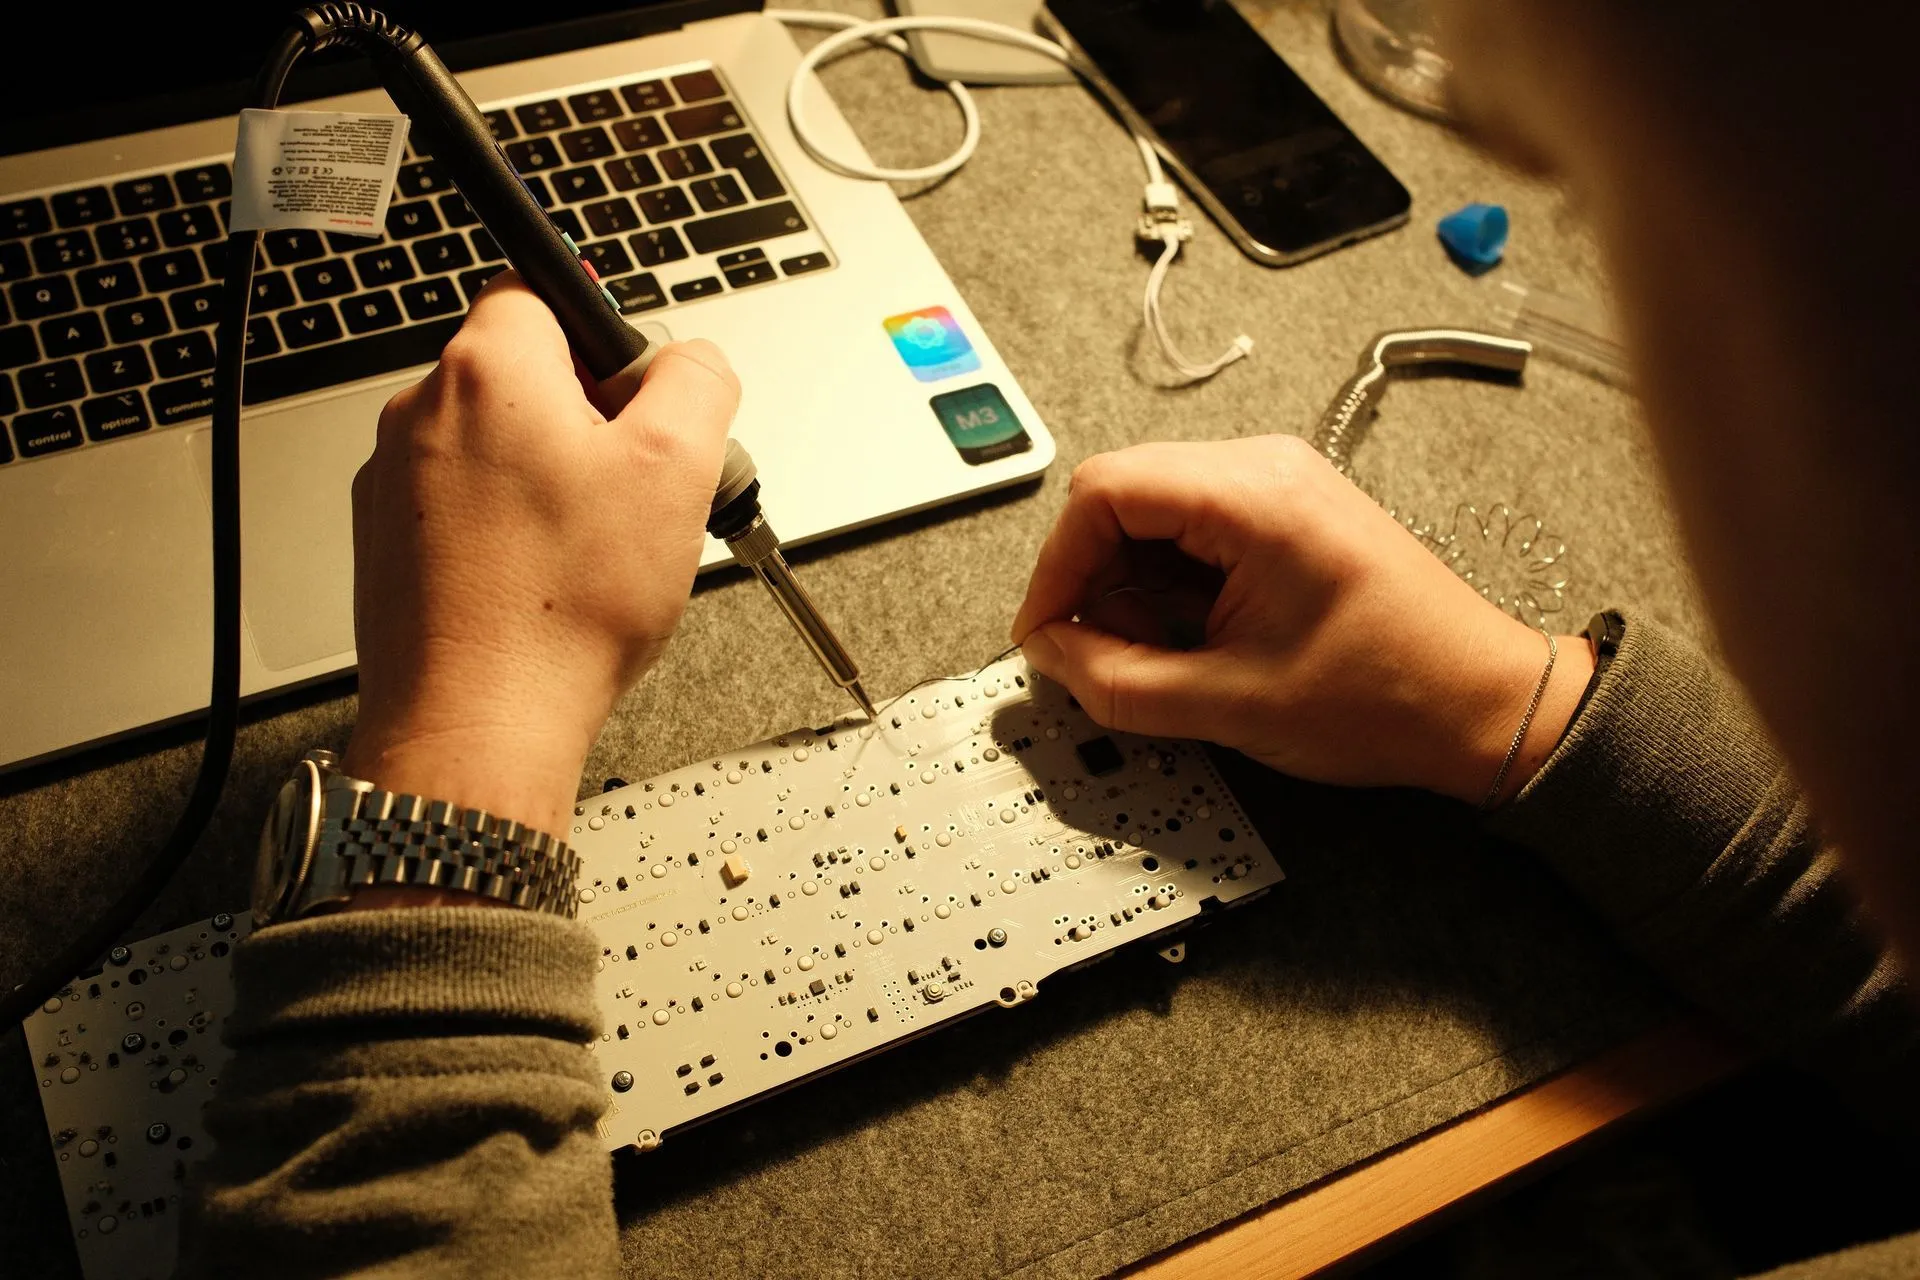
I’d never soldered a keyboard before. I ordered a kit, watched a few videos, and then took it step by step.
What worked for me:
- Take it slow.
- Test as I go (every 5–10 switches).
- If something looks wrong, stop and fix it before continuing.
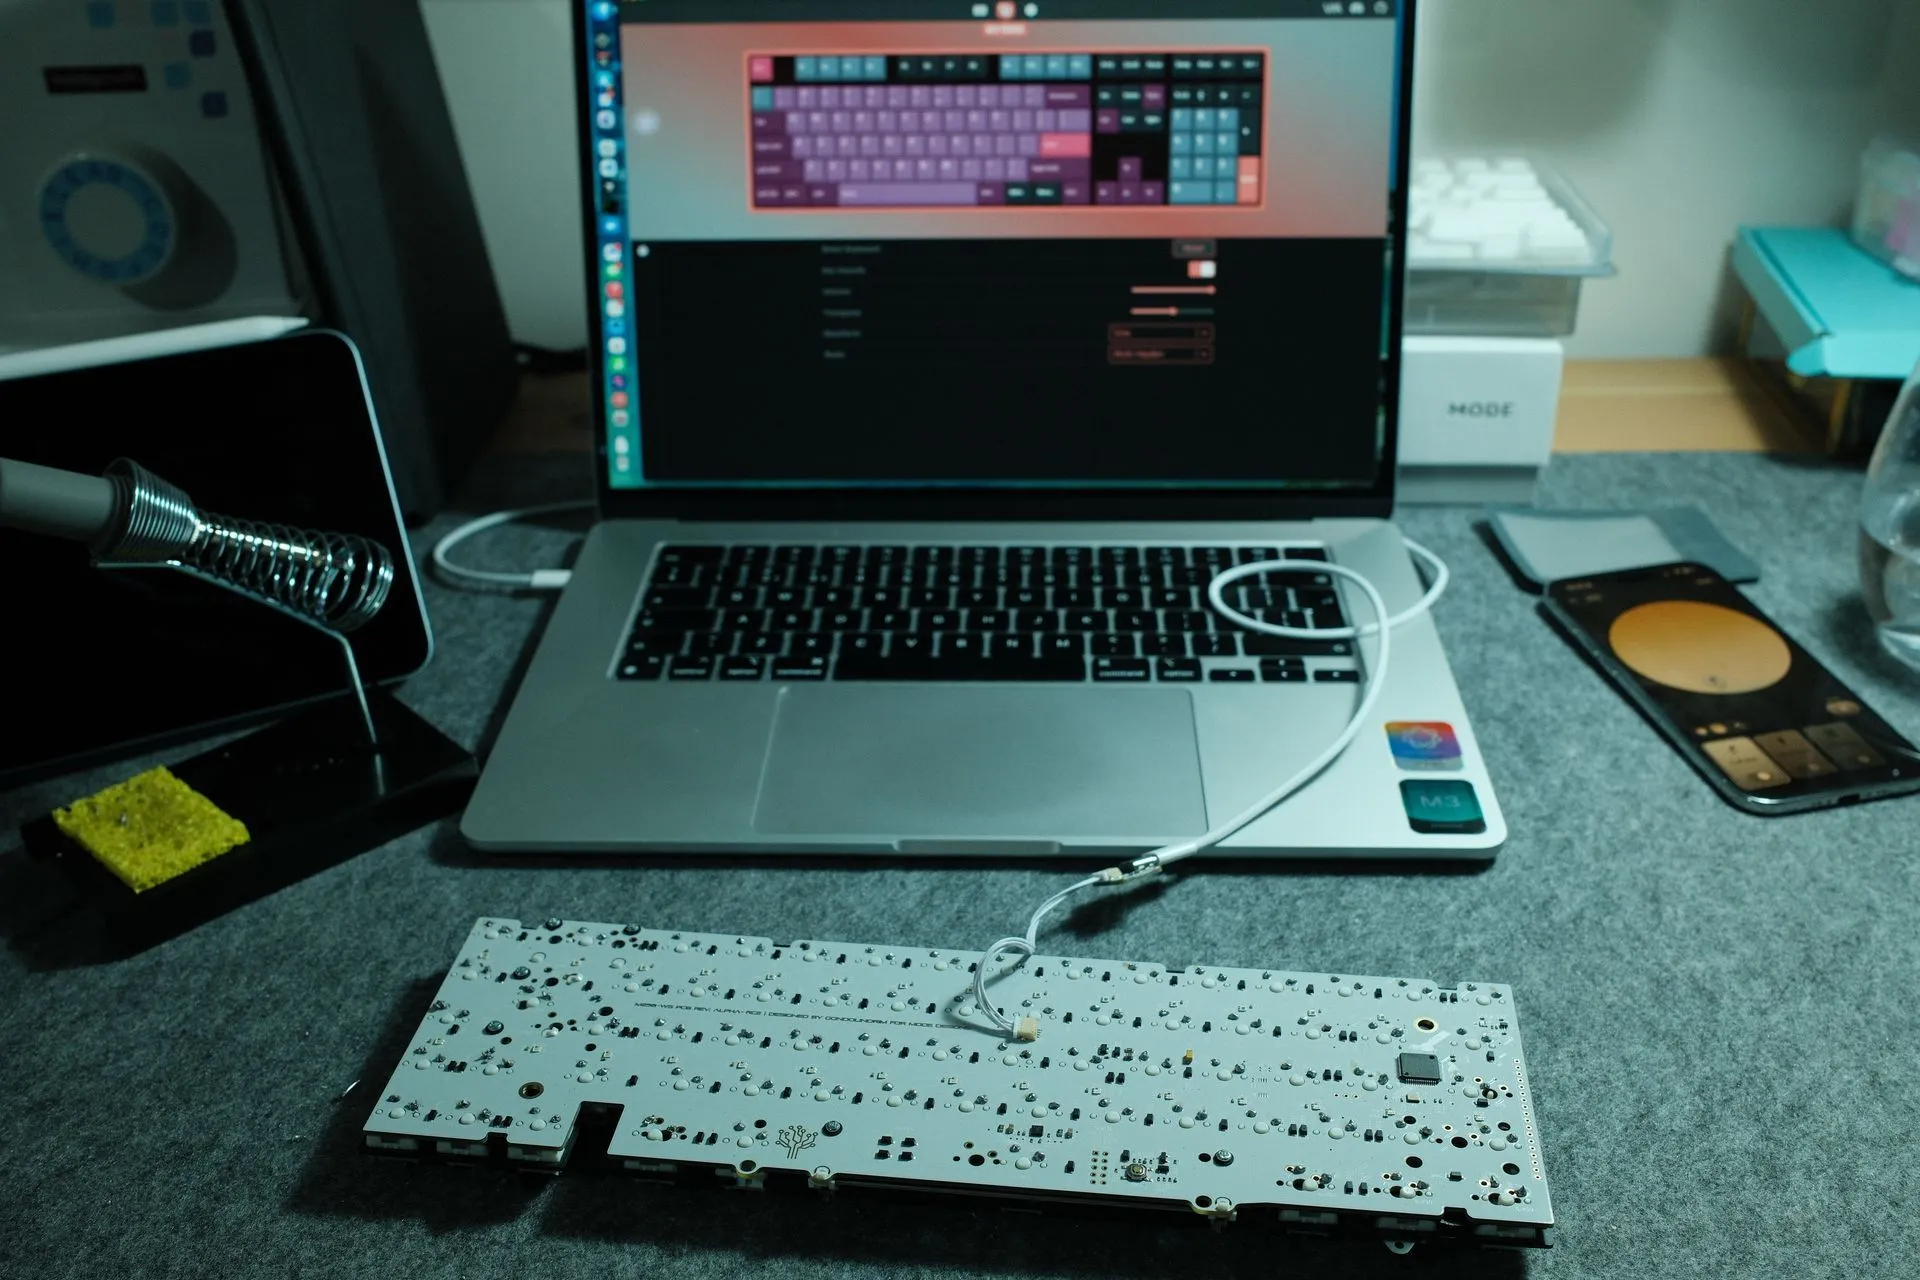
Testing example: After soldering the first 10 switches, I plugged in the PCB and checked the keys registered in VIA (software that lets you test keys and map firmware).
It started off a bit rough. My joints weren’t as clean as the videos. The fix was simple: my iron wasn’t hot enough. 350°C wasn’t cutting it, 370°C did.
First-time soldering: one small panic
Right at the end, after the final switch, the board wouldn’t power on. The joint looked fine. I’d literally tested the board right before that last switch, so I was confused.
For about ten minutes I was doing the mental maths:
- the support process with MODE
- how much de-soldering I’d have to do
- and how annoying it would be to pull 70 switches back out
Thankfully, it was just a tiny fleck of solder that had landed in the wrong place and bridged two points, causing a short. I cleaned it off and the board came back to life.
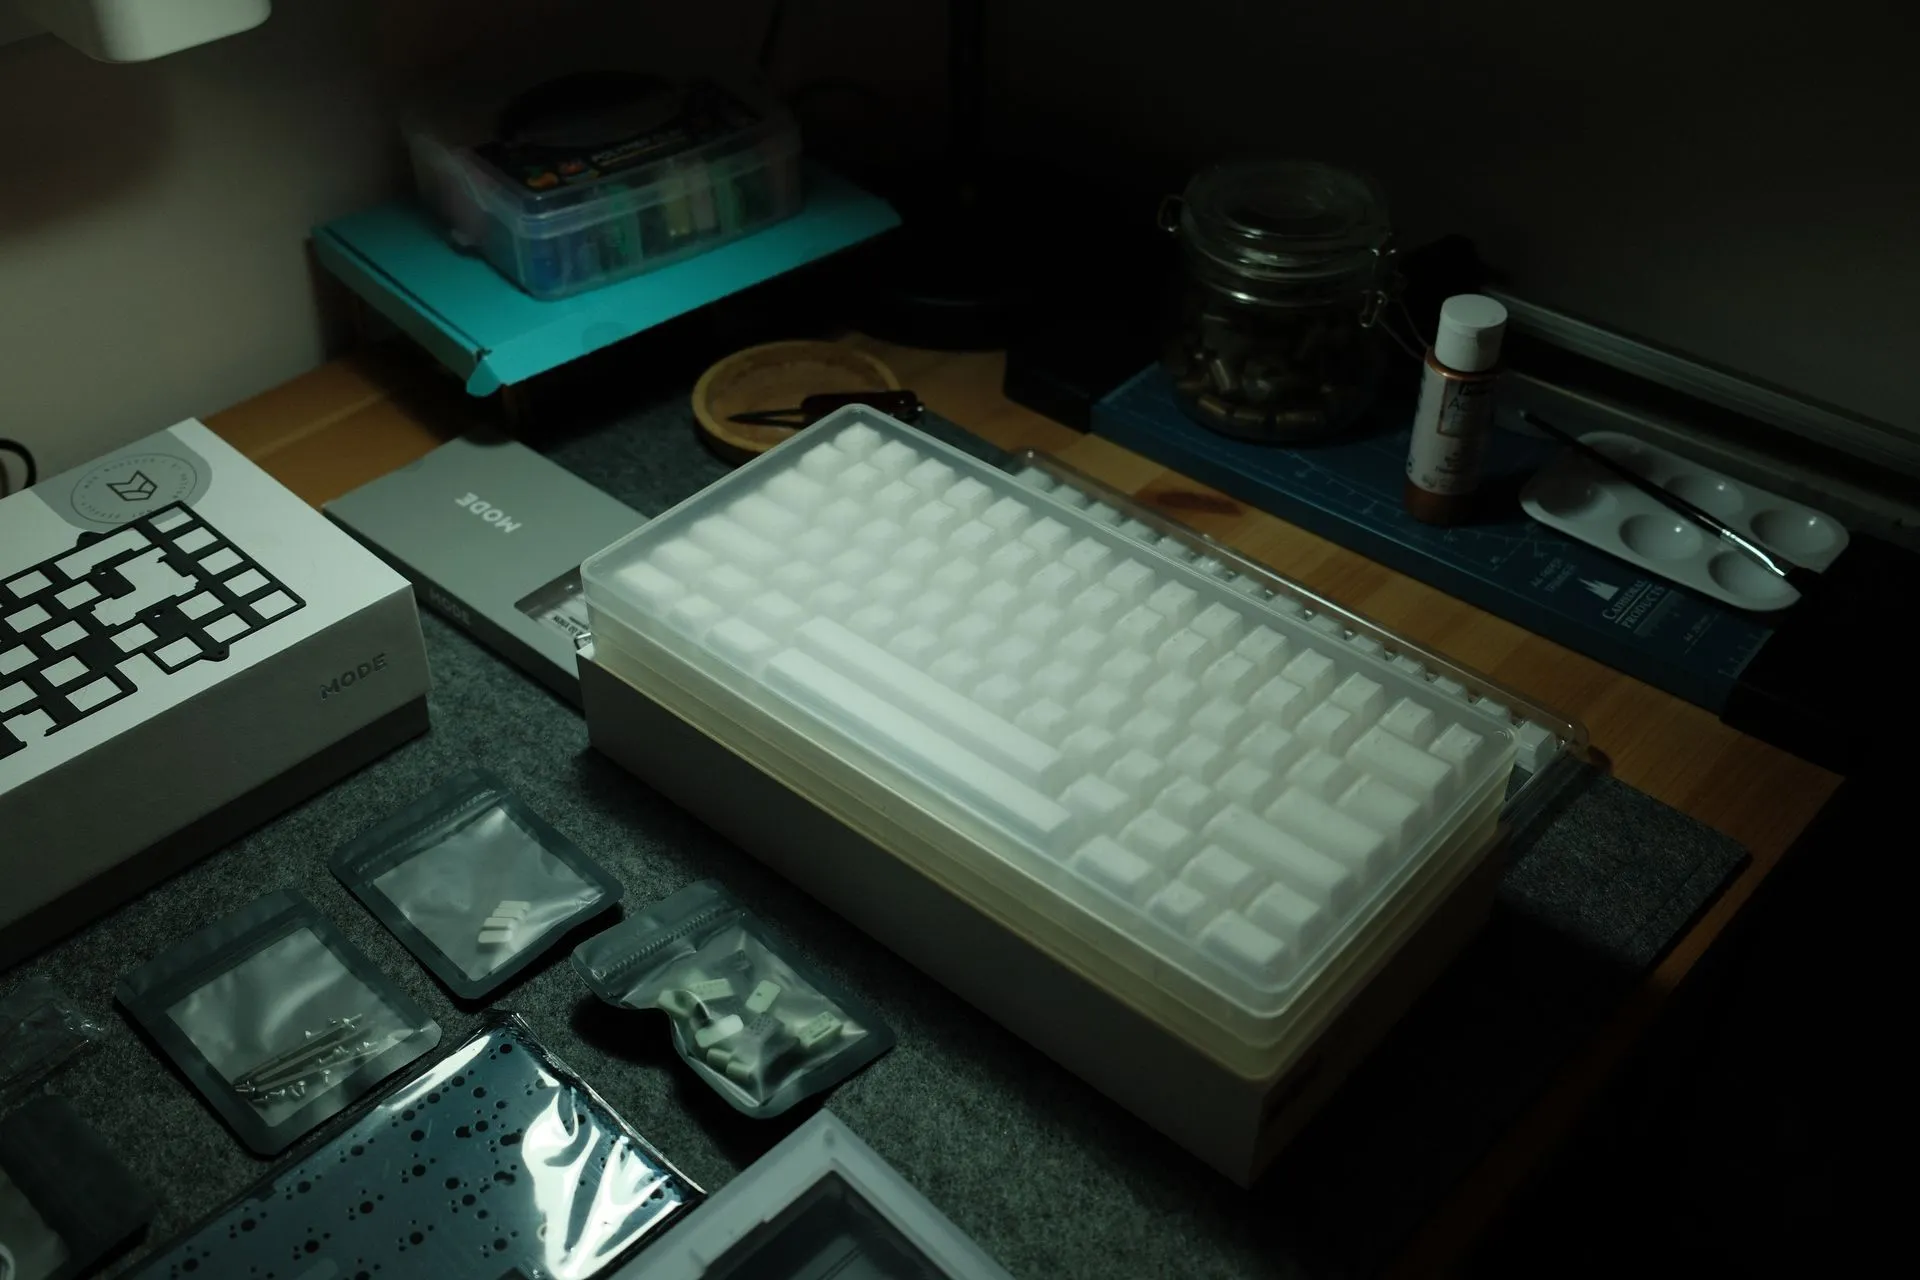
The build plan (the order I did it) 🔧
High-level order:
- Stabilisers prep (and test early)
- Switch lubing
- Foam / force-break pads (as per plan)
- Dry fit plate + PCB
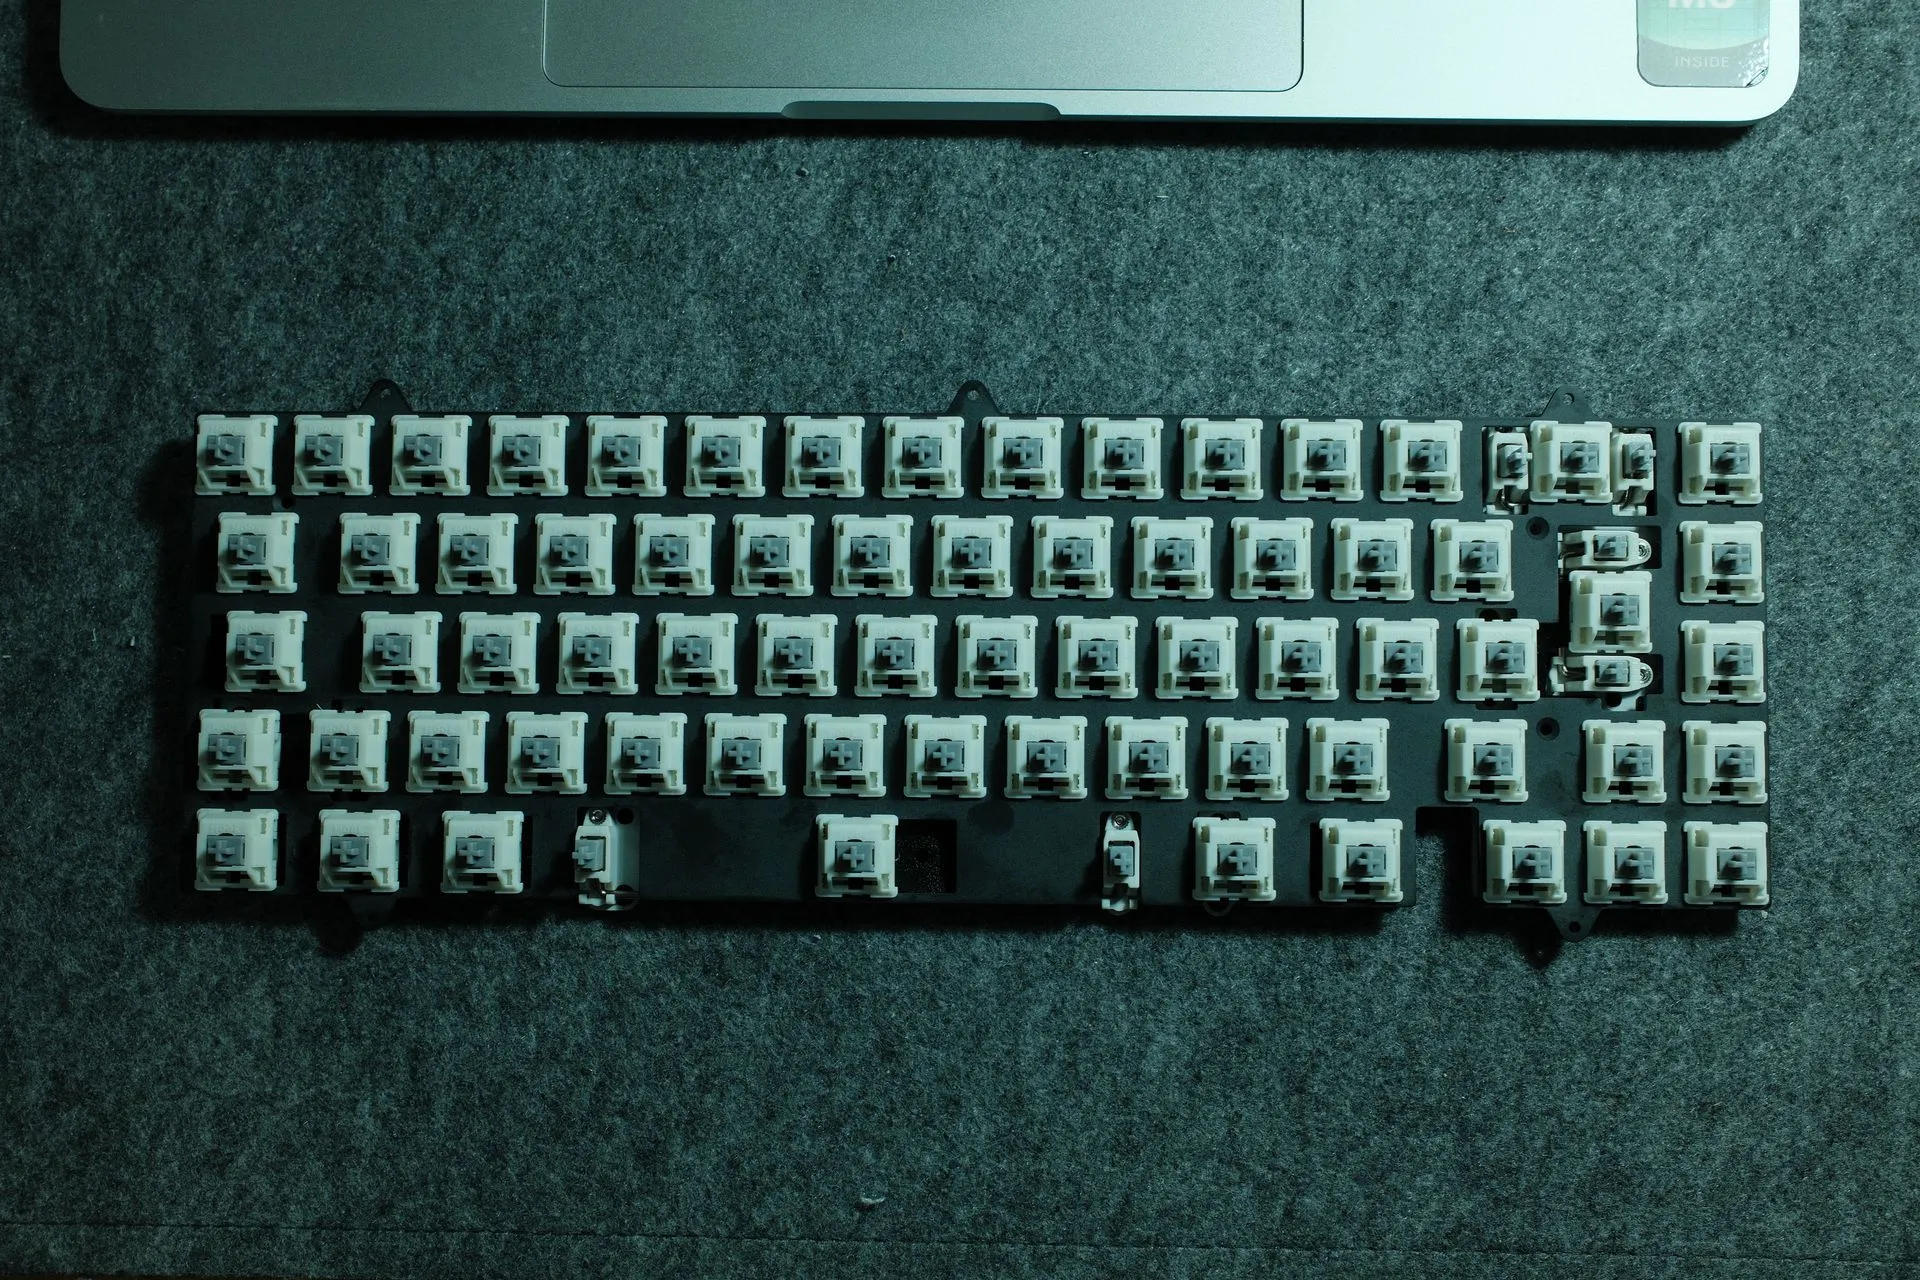
- Insert switches
- Solder in batches, testing along the way
- Final assembly
- Keycaps on
- Sound + typing tests
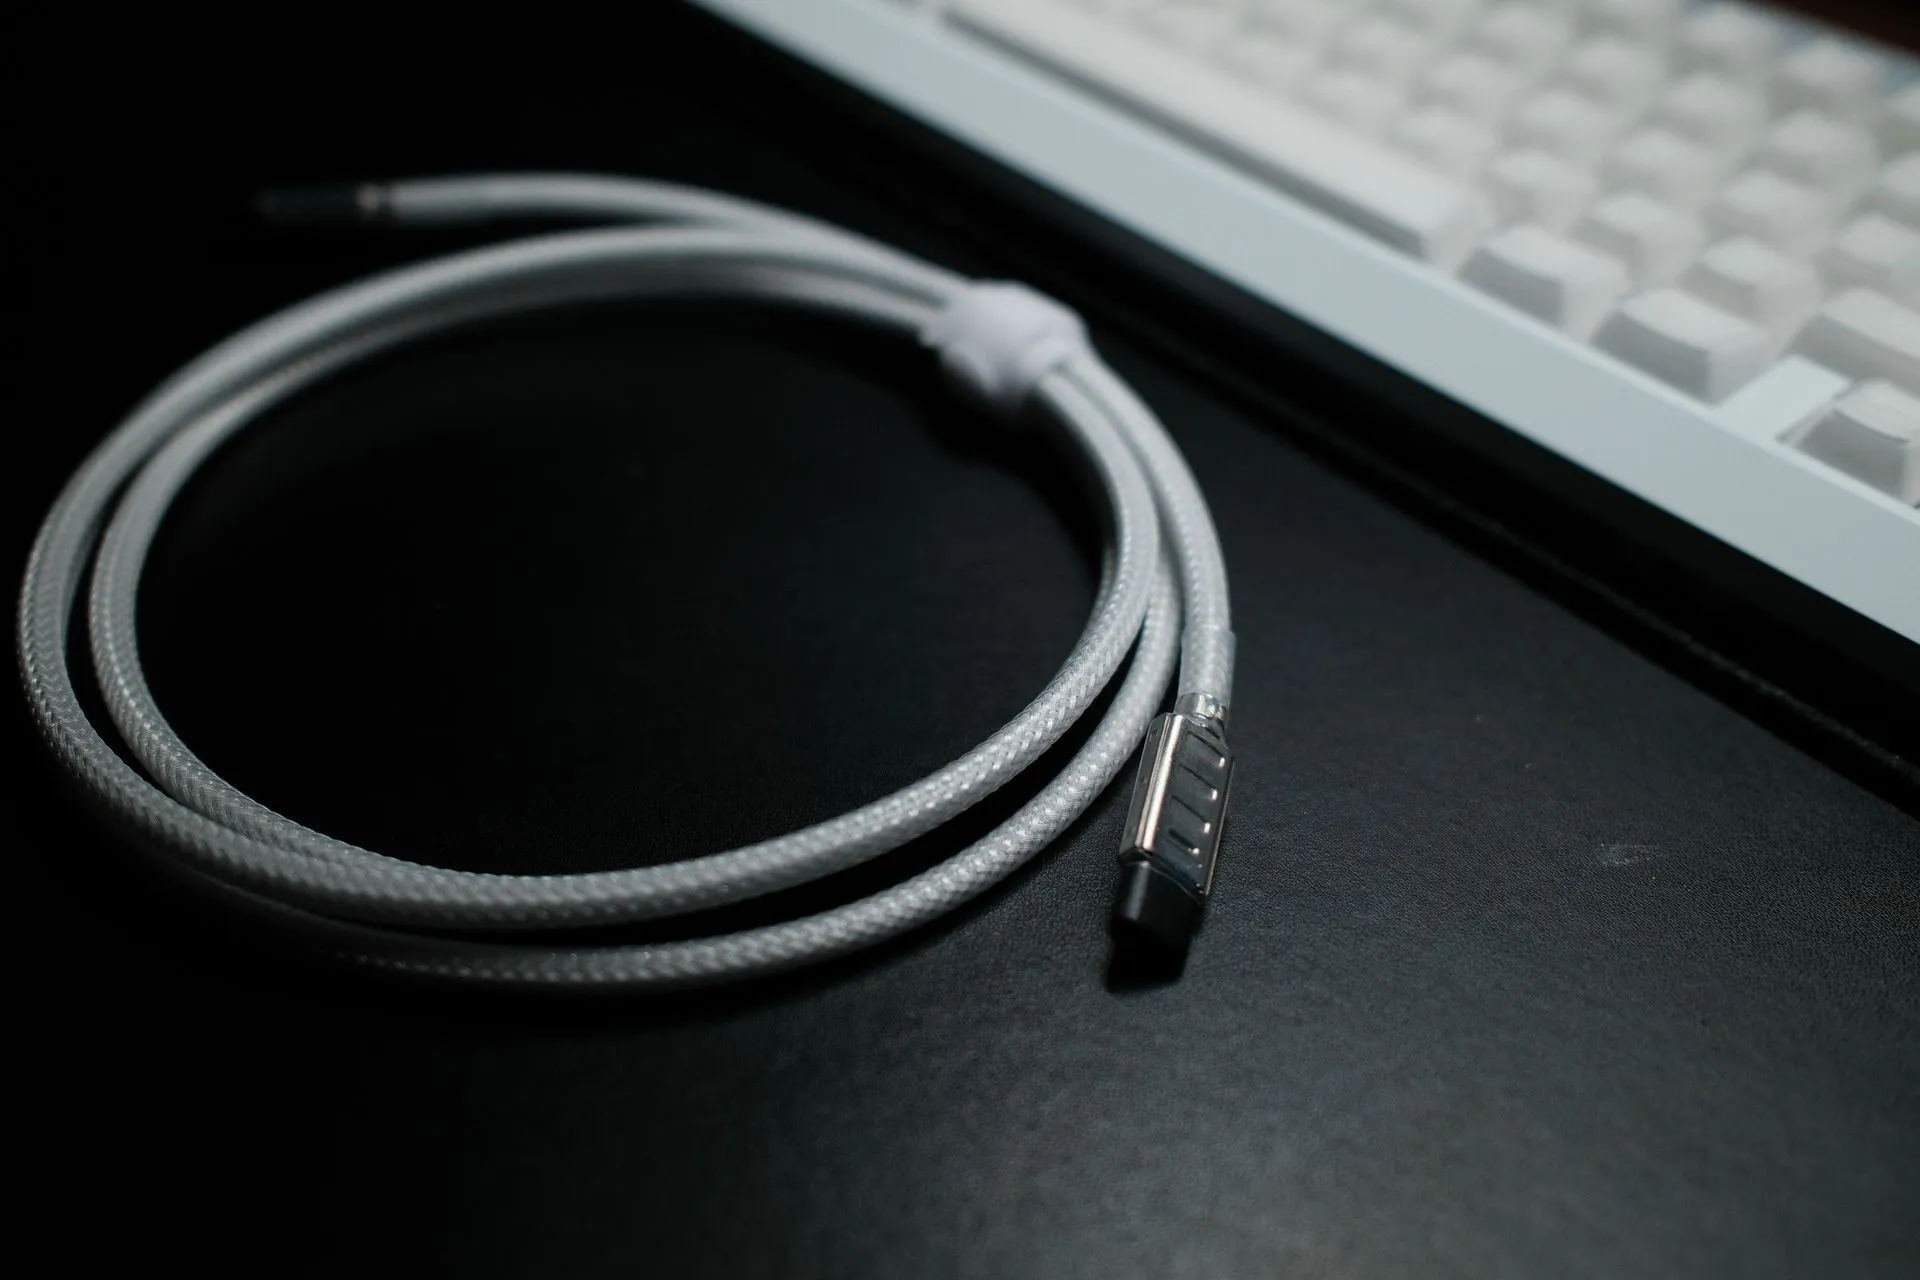
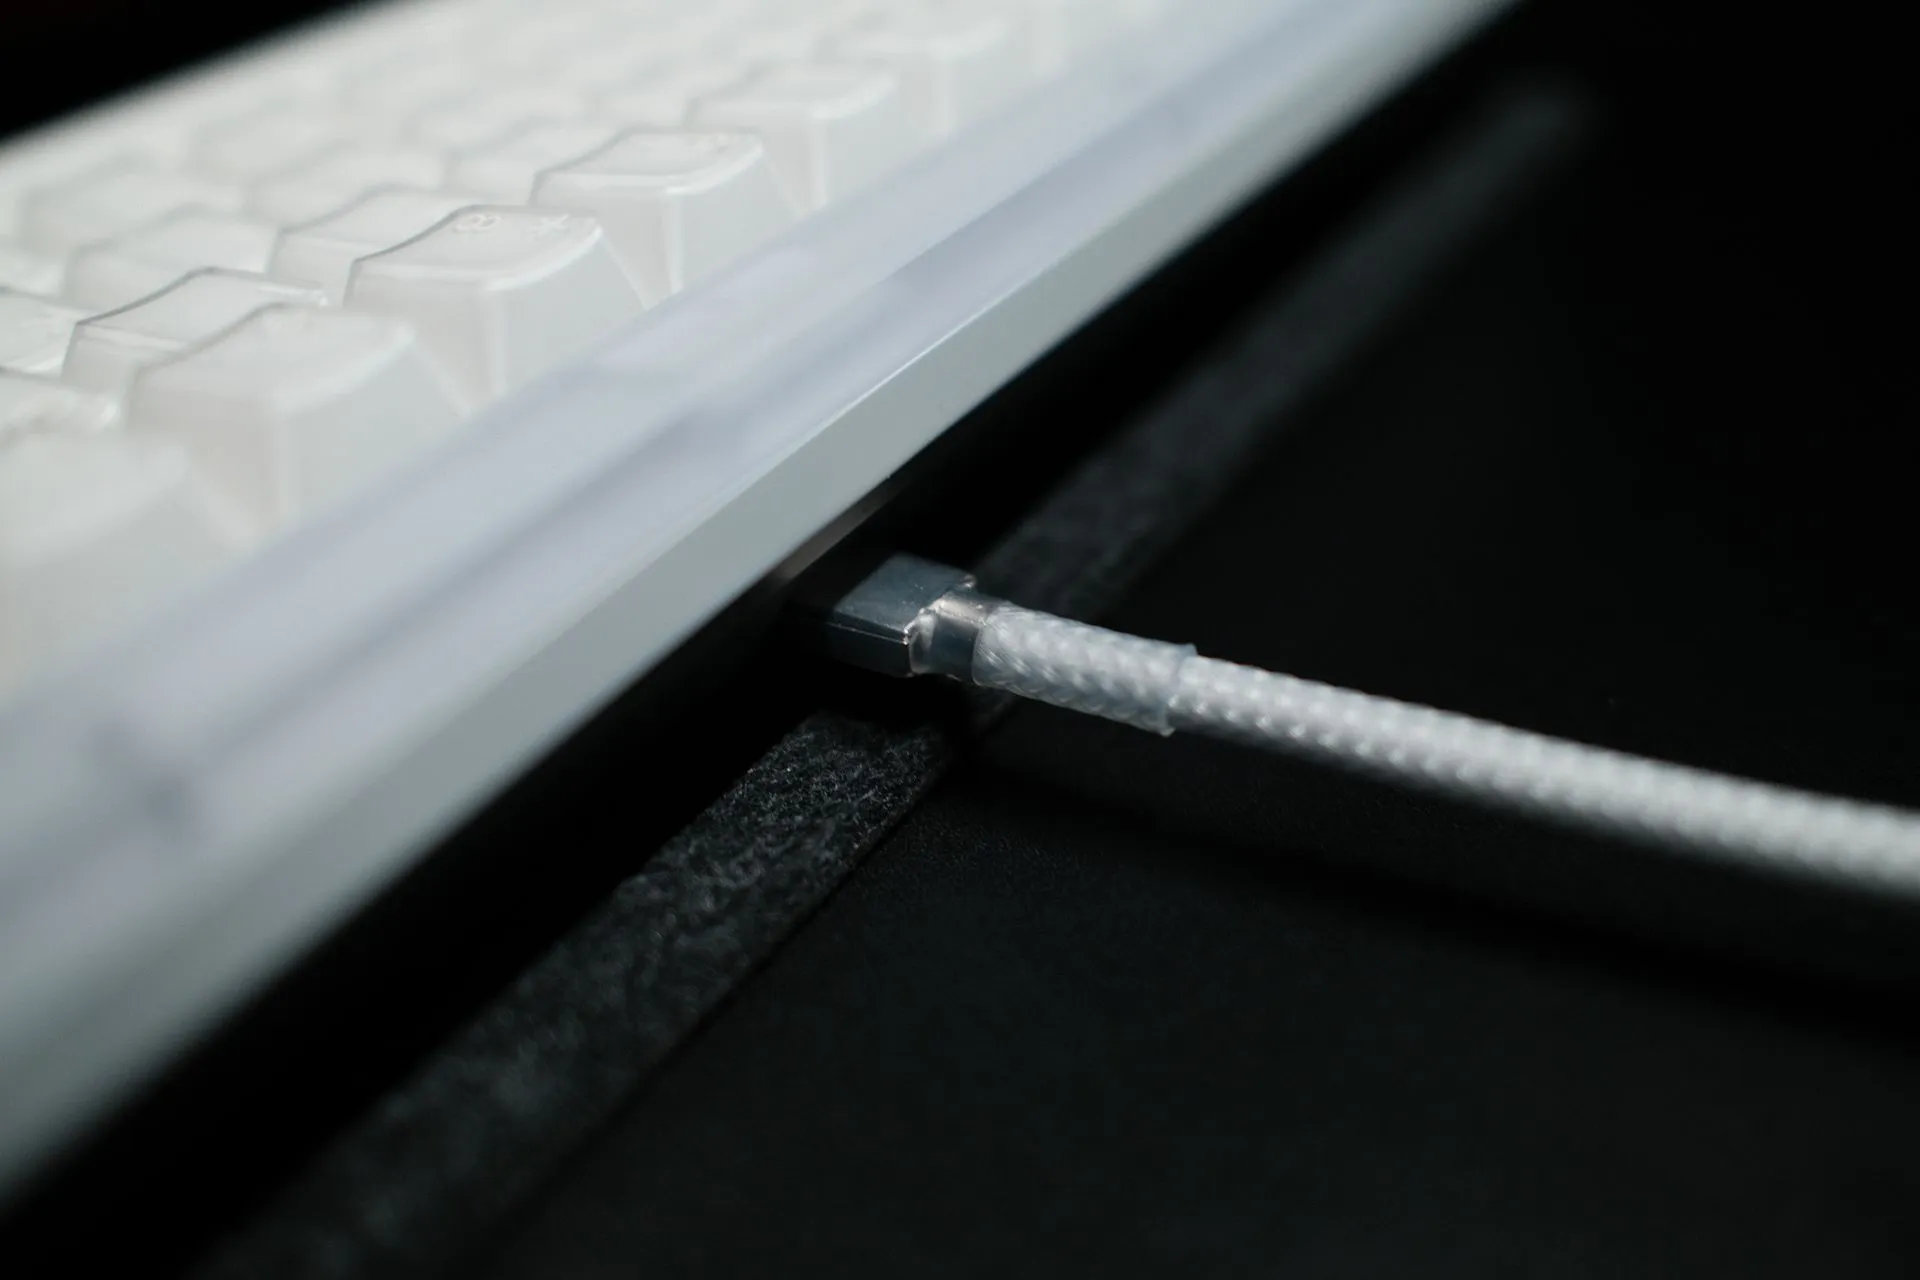
The cable 👻
I went deliberately minimal. No inline connector. No chunky hardware. After a bit of research, I went with CableLab (UK) to match the look of the build.
CableLab spec:
- Straight cable (no coil)
- Transparent / clear sleeve + transparent heatshrink
- 160cm
- USB-C → USB-C
- Standard host connector finish
- No inline connector (no aviator / no push-pull)
Why:
- Matches the polycarbonate Encore S3 + X-RAY caps
- Keeps the ghosted, lab-equipment aesthetic
- Easy to move between Macs/PCs (unplug and go)
What it cost 💷
I’m including prices because it’s usually the thing that decides whether you build or buy.
- PBTfans X-RAY keycaps: £100
- Board + switches + case (MODE): £266
- CableLab cable: £30
- Shipping (US → UK): £79
- Solder kit: £23.70
Total: £498.70
For me, it’s worth it. It’s a daily tool I’ll use constantly, and I wanted something quiet, UK-ISO, and properly mine.
Result ✅
Oh, and there are only 300 of these boards made in the world, I have #62.